
Table of Contents
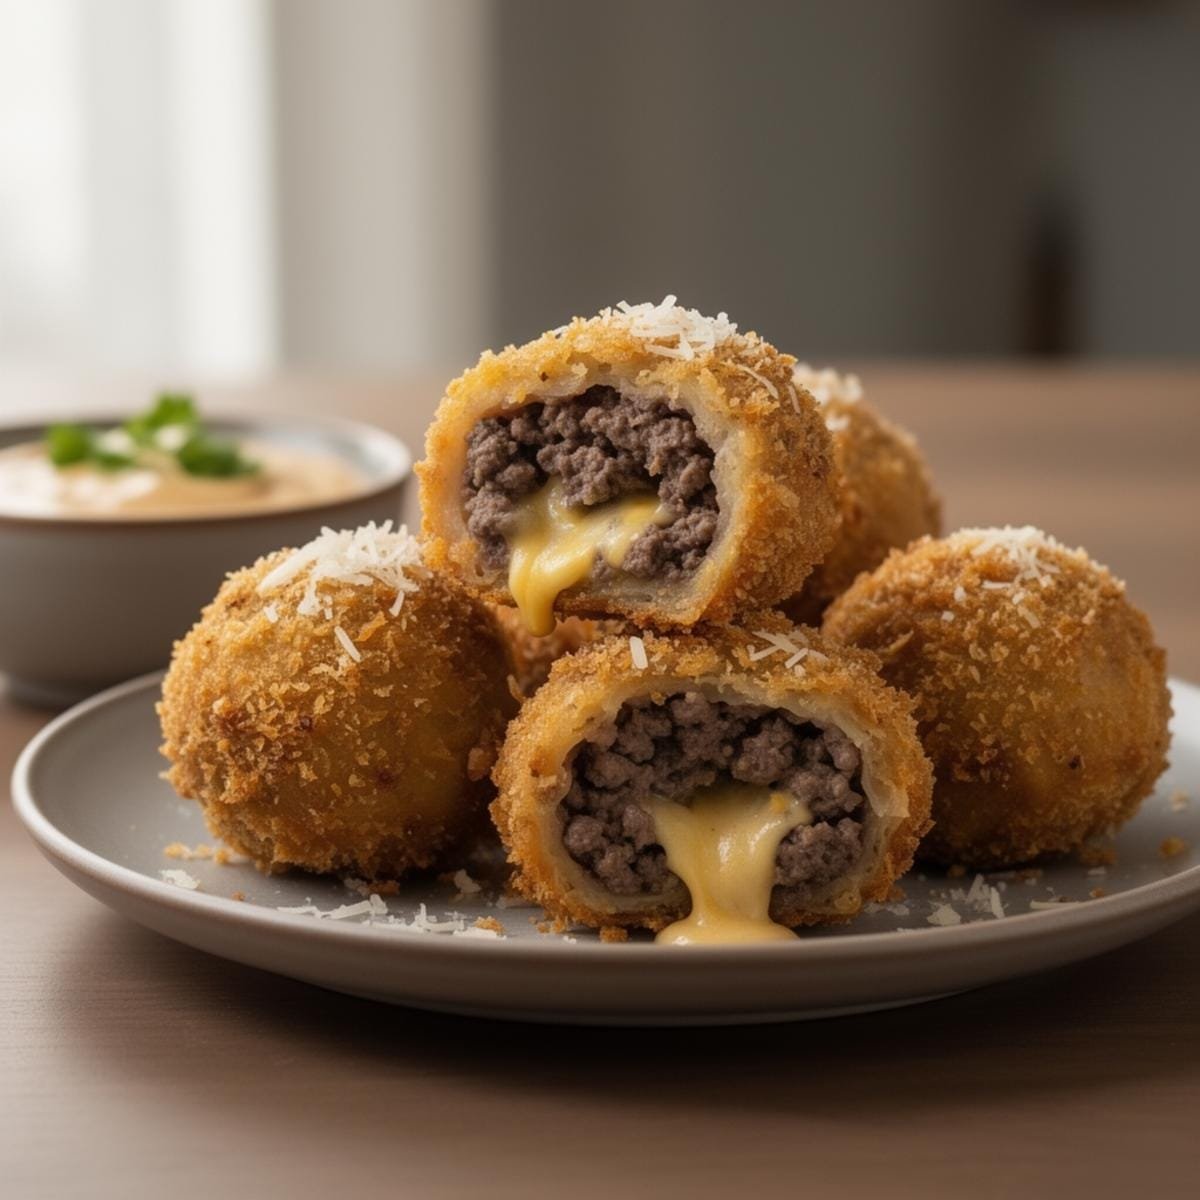
Are you ready to experience the ultimate handheld comfort food? Imagine the juicy, savory goodness of a cheeseburger wrapped in buttery, flaky biscuit dough, with a rich garlic Parmesan finish. These Garlic Parmesan Cheeseburger Bombs are not just a snack—they’re a flavor explosion that will leave you wanting more. Whether you’re hosting a game day party or looking for a fun, family-friendly dinner, this recipe is your ticket to culinary delight. Let’s dive into how to create these irresistible morsels that combine the best of burgers, biscuits, and gourmet cheese in one bite.
Key Ingredients
The magic of these bombs lies in the perfect marriage of textures and flavors. Ground beef provides a hearty, savory base, while a blend of cheddar and cream cheese adds richness and meltability. The biscuit dough becomes golden and buttery when baked, and the garlic Parmesan glaze adds a restaurant-quality finish. Each ingredient plays a crucial role in creating the ultimate handheld treat.
Ingredients List
Here’s everything you’ll need to make these delicious bombs:
| Ingredient | Amount | Notes |
|---|---|---|
| Ground beef | 1 lb | 80/20 lean-to-fat ratio recommended |
| Shredded cheddar cheese | 1 cup | Use high-quality cheese for best melt |
| Cream cheese, softened | 1/2 cup | Make sure it’s at room temperature |
| Garlic powder | 1 tsp | For that signature garlic flavor |
| Onion powder | 1 tsp | Enhances savory depth |
| Salt and pepper | To taste | Season to your preference |
| Refrigerated biscuit dough | 1 can (16 oz) | 8 biscuits per can typically |
| Grated Parmesan cheese | 1/4 cup | For the buttery glaze |
| Butter, melted | 2 tbsp | Unsalted preferred |
| Fresh parsley, chopped | For garnish | Adds color and freshness |
Helpful Tools
Having the right tools can make the preparation process smoother and more enjoyable. Here are three essential tools for making perfect Garlic Parmesan Cheeseburger Bombs:
1. Baking Sheet with Parchment Paper: This prevents sticking and makes cleanup easy. Parchment paper ensures your bombs won’t tear when removing them from the pan.
2. Mixing Bowls: You’ll need a medium bowl for mixing the biscuit glaze and a large skillet for cooking the beef mixture. Having these ready will streamline the process.
3. Meat Thermometer: To ensure your ground beef is cooked to a safe temperature (160°F), a quick-read thermometer is invaluable, especially if you’re new to cooking ground meat.
Pro-Tips
To make your Garlic Parmesan Cheeseburger Bombs truly exceptional, keep these tips in mind:
– Seal the dough properly: Make sure to pinch the edges of the biscuit dough tightly to prevent any filling from leaking during baking. A good seal ensures a clean, mess-free experience.
– Use room temperature ingredients: Having your cream cheese at room temperature allows it to mix more evenly with the beef and cheddar, creating a cohesive filling that won’t separate.
– Don’t overfill: While it’s tempting to pack in as much filling as possible, overfilling can cause the bombs to burst open during baking. Aim for a balanced ratio of dough to filling.
– Try different cheese combinations: While cheddar is classic, you can experiment with pepper jack for a spicy kick, or a blend of mozzarella and provolone for an Italian twist. For more delicious ideas, check out this Keto Philly Cheesesteak Roll Up recipe for inspiration.
– Serve immediately: These bombs are best enjoyed fresh out of the oven when the cheese is molten and the biscuit is at its crispiest. If you need to reheat them, use an oven or toaster oven rather than a microwave to maintain texture.
How to Make Garlic Parmesan Cheeseburger Bombs
Follow these simple steps to create your own batch of these irresistible treats:
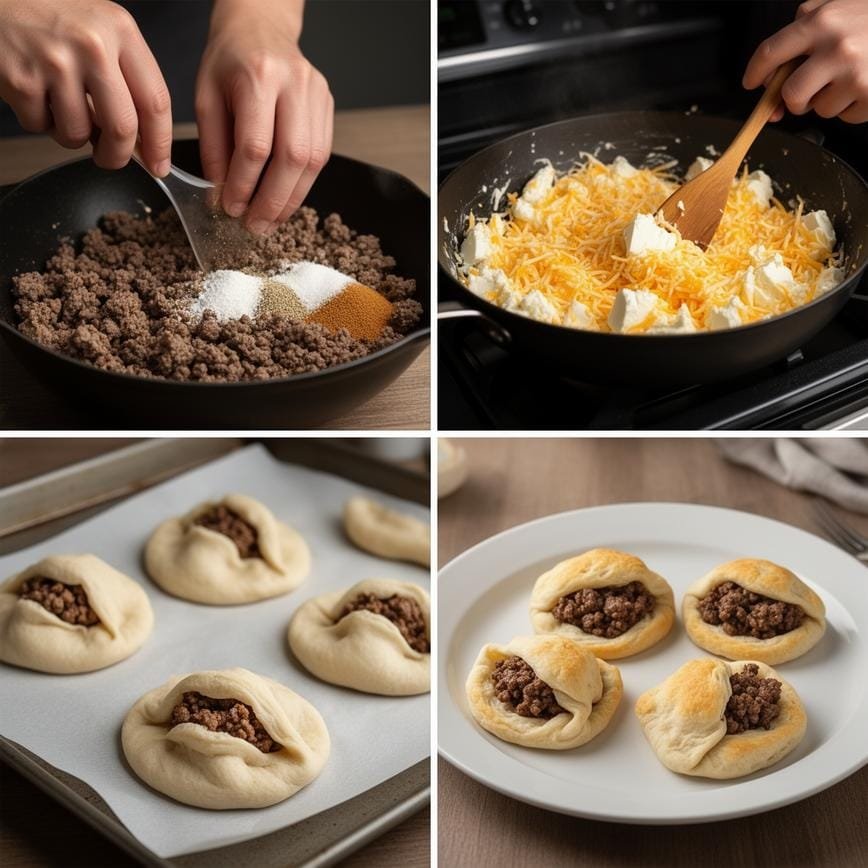
1. Preheat and Prepare: Preheat your oven to 375°F (190°C) and line a baking sheet with parchment paper.
2. Cook the Beef: In a skillet over medium heat, brown the ground beef until fully cooked and no longer pink. Drain any excess grease from the pan.
3. Season the Mixture: Add garlic powder, onion powder, salt, and pepper to the cooked beef. Stir to combine and let the spices toast slightly in the pan for maximum flavor.
4. Add the Cheese: Mix in the softened cream cheese and shredded cheddar cheese until well combined. The residual heat from the beef will help melt the cheeses into a creamy, cohesive filling. Remove from heat and let cool slightly.
5. Prepare the Dough: Open the can of biscuit dough and separate the biscuits. Flatten each biscuit into a circle about 1/4 inch thick using your hands or a rolling pin.
6. Fill the Biscuits: Place a spoonful of the beef and cheese mixture in the center of each flattened biscuit. Be careful not to overfill.
7. Seal the Bombs: Fold the dough over the filling to create a half-moon shape. Pinch the edges tightly to seal completely, ensuring no filling can escape during baking.
8. Create the Glaze: In a small bowl, mix the melted butter with grated Parmesan cheese until well combined.
9. Glaze and Bake: Brush the tops of the sealed bombs with the Parmesan butter mixture. Arrange them on the prepared baking sheet and bake for 12-15 minutes, or until golden brown and puffed.
10. Serve: Let the bombs cool slightly before serving. Garnish with fresh parsley for a pop of color and enjoy!
Variations
Once you’ve mastered the basic recipe, try these creative variations:
– Bacon Lover’s: Add crumbled cooked bacon to the beef mixture for extra smokiness and crunch.
– Jalapeño Popper Style: Mix in diced jalapeños and use pepper jack cheese instead of cheddar for a spicy kick.
– Breakfast Bombs: Use sausage instead of beef and add a scrambled egg to the filling for a breakfast twist.
FAQ
Can I make these ahead of time?
Yes! You can assemble the bombs and refrigerate them on the baking sheet, covered, for up to 24 hours before baking. You can also freeze them before baking and cook them straight from frozen, adding a few extra minutes to the baking time.
Can I use different dough?
Absolutely! While biscuit dough is traditional, you can use crescent roll dough for a flakier texture, or even homemade pizza dough for a chewier bite.
How do I store leftovers?
Store any leftovers in an airtight container in the refrigerator for up to 3 days. Reheat in a 350°F oven for 10 minutes to restore crispiness.
These Garlic Parmesan Cheeseburger Bombs are more than just a recipe—they’re a conversation starter, a crowd-pleaser, and a testament to the magic that happens when comfort food classics collide. With their juicy beef filling, gooey cheese center, and buttery, golden exterior, they’re sure to become a staple in your recipe rotation. For more delicious ideas, follow me on My Pinterest
Print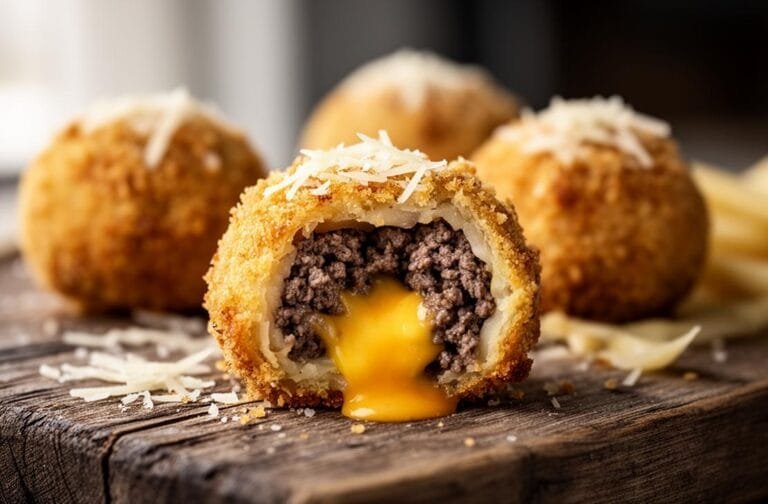
Garlic Parmesan Cheeseburger Bombs: Crisp Tastes
Savory beef and melted cheese are wrapped in soft biscuit dough, brushed with garlic butter, and crowned with fresh Parmesan. These golden bites emerge from the oven with crisp edges and a pillowy center, offering a burst of flavor in each mouthful. Perfect as a main dish or a satisfying party snack.
- Total Time: 30
- Yield: 8
Ingredients
— Burger Filling —
1 pound (450g) ground beef (80% or 85% lean)
1 tablespoon Worcestershire sauce
1 teaspoon salt (adjust to taste)
½ teaspoon black pepper (freshly ground)
½ teaspoon garlic powder
½ teaspoon onion powder
1 cup (120g) shredded cheddar or mozzarella cheese
Optional add-ins: chopped pickles, crispy bacon bits, or caramelized onions
— Dough & Topping —
1 tube (16 oz) refrigerated biscuit or pizza dough
2 tablespoons (28g) unsalted butter, melted
2 cloves garlic, minced (or ½ tsp garlic powder)
¼ cup (15g) grated Parmesan cheese
1 tablespoon fresh parsley, chopped (for garnish)
Instructions
1. Preheat your oven to 375°F (190°C). Line a baking sheet with parchment paper.
2. **Prepare the Beef:** In a heavy skillet over medium heat, cook the ground beef until evenly browned and no pink remains. Use a potato masher or spatula to break up clumps.
3. Drain off excess fat from the pan. Season the hot beef with salt, pepper, garlic powder, onion powder, and Worcestershire sauce. Stir well to coat.
4. Remove from heat and let the beef cool to room temperature. Once cooled, fold in the shredded cheese and any optional add-ins (bacon, pickles, etc.). Mix until combined.
5. **Assemble:** Separate the biscuit dough into rounds. Flatten each piece into a circle approximately 4 inches (10 cm) wide.
6. Place 1–2 tablespoons of the beef mixture into the center of each dough circle. Gather the edges up and pinch them tightly together to seal, forming a ball.
7. Place the bombs seam-side down on the prepared baking sheet, spacing them evenly.
8. **Top & Bake:** In a small bowl, mix the melted butter with the minced garlic. Brush this mixture generously over the tops of the dough balls. Sprinkle with grated Parmesan cheese.
9. Bake for 15–18 minutes, or until the biscuit dough is golden brown and cooked through.
10. Remove from oven. Optionally brush with any remaining garlic butter and garnish with fresh parsley. Serve warm.
Notes
Cooling the Meat: It is crucial to let the beef mixture cool before stuffing the dough. If the meat is too hot, it will melt the raw biscuit dough and make it difficult to seal.
Dough Handling: If using pizza dough instead of biscuits, cut the dough into 8-12 even squares before filling.
Storage: Leftovers can be stored in an airtight container in the fridge for up to 3 days. Reheat in the oven or air fryer to maintain crispiness.
Short on Time? You can prepare the beef filling a day in advance and keep it refrigerated until you are ready to assemble and bake.
- Prep Time: 15
- Cook Time: 15
- Category: Appetizer
- Method: Bake
- Cuisine: American