
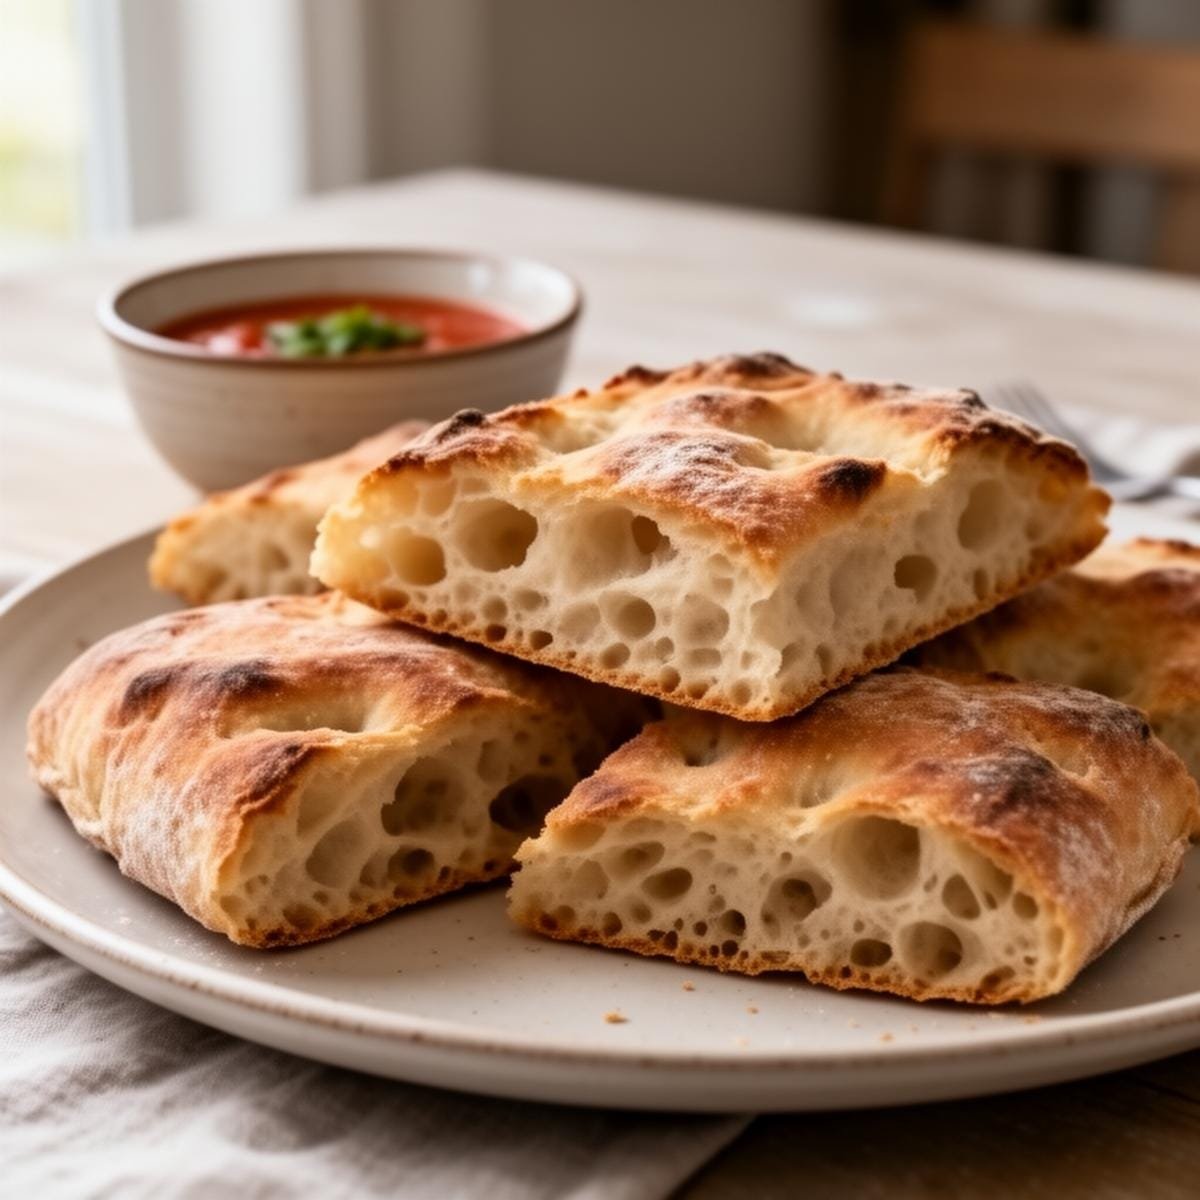
There’s something magical about a warm, crusty loaf of bread fresh from the oven. The smell, the texture, the sound of the crust crackling as it cools – it’s pure comfort. If you’ve ever dreamed of baking artisan bread at home without the fuss, this NO-Knead Ciabatta Bread Recipe is your answer. Forget hours of kneading and precise timing. This recipe is all about simplicity, patience, and letting time do the work. The result? A loaf with an open, airy crumb, a crisp, golden crust, and a flavor that rivals any bakery. Let’s dive in.
Key Ingredients
The beauty of this recipe lies in its simplicity. We’re using just a handful of ingredients, each playing a crucial role:
- Flours: A blend of white bread flour and whole wheat bread flour gives us the structure and a subtle nutty depth.
- Salt: Essential for flavor and controlling yeast activity.
- Yeast: A tiny amount of active dry yeast works its magic over a long, slow rise.
- Water: The high hydration (lots of water) is what creates the characteristic open crumb and chewy texture.
- Olive Oil: Adds a touch of richness and helps with the crust.
- Cornmeal: For dusting, adding a delightful crunch and preventing sticking.
Ingredients List
Here’s the exact list of ingredients you’ll need:
| Ingredient | Amount |
|---|---|
| White bread flour | 3 ½ cups |
| Whole wheat bread flour | ½ cup |
| Salt | 1 ½ teaspoons |
| Active dry yeast | ¼ teaspoon |
| Water | 2 cups |
| Olive oil | 1 tablespoon |
| Cornmeal | 2 tablespoons |
Helpful Tools
While this recipe is forgiving, a few tools will make the process smoother:
1. Large mixing bowl: For combining the dough.
2. Plastic wrap: To cover the dough during its long rise.
3. Heavy-rimmed baking sheet: This will hold the dough and help create a nice crust.
4. Spatula or bench scraper: For handling the sticky dough.
Pro-Tips for Success
1. Patience is Key: The 18-hour rise is non-negotiable. This long, slow fermentation develops flavor and creates the signature airy crumb. Don’t rush it!
2. Don’t Over-Flour: The dough is supposed to be wet and sticky. Resist the urge to add too much flour during shaping, or you’ll end up with a dense loaf.
3. Wet Your Hands: When handling the sticky dough, wet your hands or the spatula. This prevents sticking and makes manipulation easier.
4. Use a Damp Work Surface: Spraying the counter with water before placing the plastic wrap helps it stay in place and prevents the dough from sticking.
5. For more delicious ideas, follow me on Cheesy Garlic Rolls Best Bread Cheese Recipes
How to Make NO-Knead Ciabatta Bread Recipe
Ready to bake? Here’s the step-by-step process:
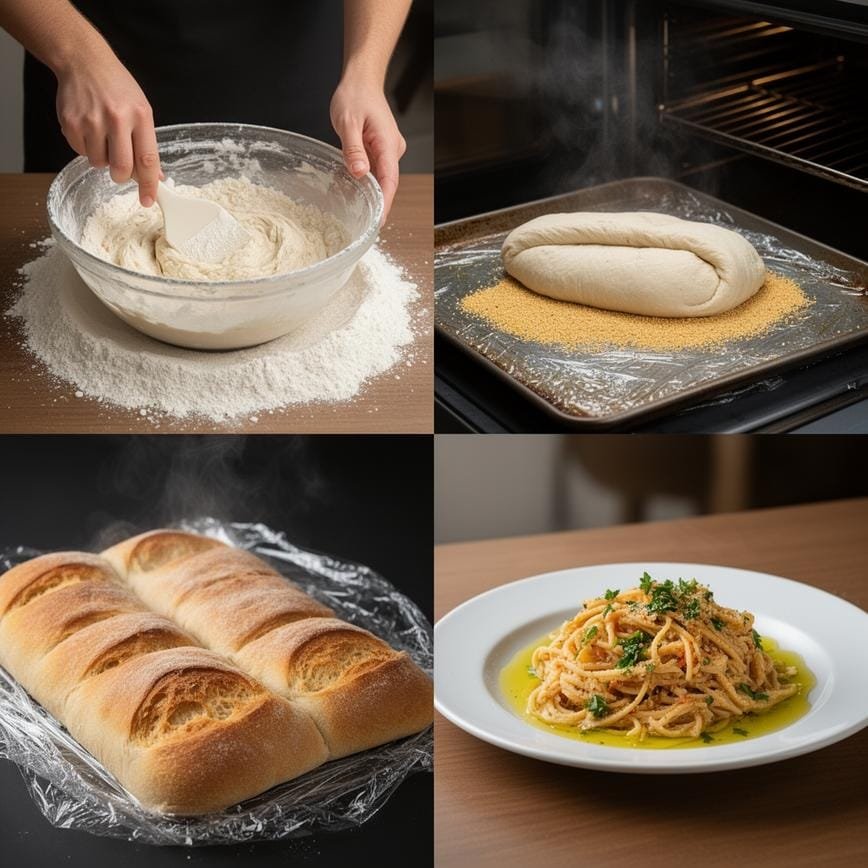
- 1. Combine the Dough: In a large bowl, whisk together the white flour, whole wheat flour, salt, and yeast. Add the water and olive oil. Mix with a spatula or your hands until a shaggy, wet dough comes together. It will be very sticky. Scrape down the sides of the bowl.
- 2. First Rise (Long Fermentation): Cover the bowl tightly with plastic wrap or a lid. Let it rise at room temperature (not too warm) for 18 hours. The dough will become bubbly and increase in size.
- 3. Punch Down and Fold: After 18 hours, punch the dough down with a spatula and fold it over itself a few times. This redistributes the yeast and strengthens the gluten.
- 4. Prepare the Pan: Lightly grease a heavy-rimmed baking sheet with olive oil and sprinkle it generously with cornmeal.
- 5. Prepare the Work Surface: Lightly spray a work surface with water. Place a long sheet of plastic wrap on the damp surface. Sprinkle the plastic wrap with flour.
- 6. Shape the Dough: Scrape the dough onto the floured plastic wrap. Sprinkle a little more flour on top of the dough. Gently stretch and pull the dough into a long, flat rectangular shape, about 12 to 15 inches long. Don’t overwork it; just gently shape it.
- 7. Transfer to Pan: Bring the plastic sheet to the edge of the prepared pan and flip the dough into the pan. Reshape the dough gently if needed, and dust it lightly with flour.
- 8. Second Rise: Cover the pan with a light, dry towel. Let the dough rise for about 2 hours, until it has puffed up.
- 9. Bake: Preheat your oven to 425°F (220°C). Bake the dough for 35 to 45 minutes, or until the loaf is deeply golden brown and sounds hollow when tapped on the bottom.
- 10. Cool: Let the bread cool on a wire rack for at least 30 minutes before slicing. This allows the crumb to set.
Variations
Once you’ve mastered the basic recipe, feel free to get creative:
1. Herb Ciabatta: Add 2-3 tablespoons of chopped fresh rosemary, thyme, or oregano to the dough.
2. Olive & Sun-Dried Tomato Ciabatta: Fold in ½ cup of chopped olives and ¼ cup of chopped sun-dried tomatoes during the shaping step.
3. Cheese Ciabatta: Sprinkle ½ cup of grated Parmesan or Pecorino Romano over the dough before the second rise.
NO-Knead Ciabatta Bread Recipe – Easy, Rustic, and Delicious!
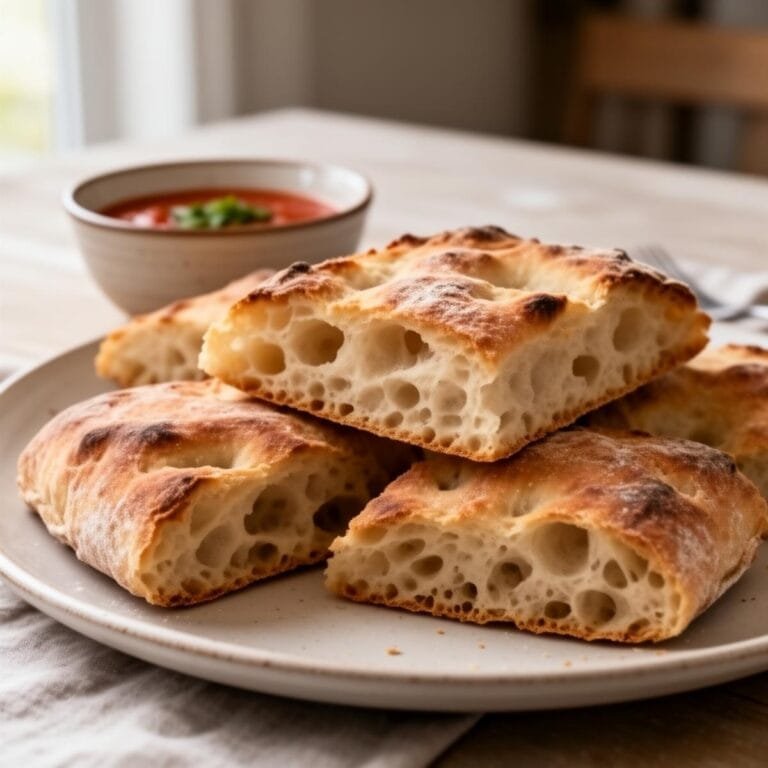
This No-Knead Ciabatta Bread recipe yields a bakery-quality loaf with a crispy, golden crust and a soft, airy interior full of beautiful holes. The secret is time—allowing the wet dough to ferment slowly overnight does all the work for you. No mixer or kneading required!
- Total Time: 1080
- Yield: 2 loaves
Ingredients
4 cups (500g) bread flour (all-purpose works, but bread flour is best for chew)
¼ teaspoon instant yeast (yes, that’s all you need!)
1 ½ teaspoons salt
2 cups (475ml) warm water (around 100°F/38°C)
Extra flour for dusting (generous amount needed)
Cornmeal or Semolina flour (for the baking sheet)
Instructions
1. **Mix the Dough:** In a large bowl, whisk together the flour, salt, and instant yeast. Pour in the warm water and stir with a wooden spoon or spatula until a shaggy, very sticky dough forms. Do not knead it! Just ensure all the flour is wet.
2. **The Long Rise (Fermentation):** Cover the bowl tightly with plastic wrap or a shower cap. Let it sit at room temperature (out of direct sunlight) for **12 to 18 hours**. The dough will bubble up, double in size, and look jiggly and wet.
3. **Shape the Loaves:** Generously flour a clean work surface. Scrape the sticky dough out of the bowl onto the flour. (It will be very loose). Dust the top of the dough with more flour.
4. Using a bench scraper or floured hands, gently fold the sides of the dough over itself (like a letter) to shape it into a rough rectangle. Cut the dough in half to make two loaves.
5. **Second Rise:** Place a sheet of parchment paper on a baking sheet and dust it with cornmeal or semolina. Gently transfer the two shaped loaves onto the parchment, spacing them apart. dust tops with flour and cover loosely with a clean kitchen towel. Let rise for 1 to 2 hours.
6. **Preheat:** About 30 minutes before baking, preheat your oven to 425°F (220°C). If you have a baking stone, place it in the oven now.
7. **Bake:** Place the baking sheet (or slide the parchment onto your hot stone) in the oven. Bake for 35–45 minutes, until the crust is deep golden brown.
8. **Cool:** Remove the bread and let it cool completely on a wire rack before slicing. This creates the perfect texture inside.
Notes
Hydration is Key: This dough is SUPPOSED to be wet and sticky. Do not be tempted to add more flour during the mixing stage, or you will lose the signature air pockets.
Steam Trick: For an even crunchier crust, place a metal pan on the bottom rack of your oven while preheating. When you put the bread in, toss a cup of hot water (or ice cubes) into the hot pan to create a burst of steam.
Flour Type: While you can use All-Purpose flour, Bread Flour has a higher protein content which provides the structure needed to hold those big air bubbles.
Storage: This bread is best eaten fresh but freezes beautifully. Slice it before freezing for easy toast later.
- Prep Time: 10
- Cook Time: 40
- Category: Bread
- Method: Bake
- Cuisine: Italian
- Diet: Vegan
FAQ
Q: Can I use all-purpose flour instead of bread flour?
A: While you can, bread flour has a higher protein content, which gives the dough more structure and chew. All-purpose flour will result in a slightly less airy crumb.
Q: My dough is too sticky to handle. What should I do?
A: This is normal! Wet your hands or the spatula, and use a bench scraper. Don’t add too much flour, as it will make the bread dense.
Q: Can I bake this in a Dutch oven?
A: Yes! Preheat the Dutch oven, transfer the dough carefully, and bake with the lid on for 25 minutes, then uncover and bake for another 15-20 minutes for a super crispy crust.
Conclusion
This NO-Knead Ciabatta Bread Recipe is a testament to the fact that sometimes, the simplest methods yield the most impressive results. With just a few ingredients, a bit of patience, and a willingness to embrace the sticky, you can create a loaf that’s truly special. It’s perfect for sandwiches, dipping in olive oil, or simply enjoying with a pat of butter. The process is almost meditative, and the reward is a bread that’s both rustic and refined.
For more delicious ideas, follow me on My Pinterest