
Table of Contents
Craving a wholesome dessert that comes together faster than you can preheat your oven? These No Bake Peanut Butter Oat Cups combine pantry staples into bite-sized bliss with zero baking required. Perfect for lunchboxes, snacks, or a guilt-free sweet fix!
Key Ingredients
Five simple components create magic: Peanut butter binds the cups, oat flour adds chewiness, maple syrup sweetens naturally, while melted chocolate gives a decadent finish. Coconut oil ensures silky-smooth chocolate draping.

Ingredients List
| Ingredient | Notes |
|---|---|
| 1.5 cups peanut butter | Use creamy or crunchy |
| 1.5 cups rolled oats, processed finely in a food processor to make oat flour | Measure after grinding |
| 1/4 cup maple syrup | Adjust to taste |
| 1 cup chocolate chips | Dark, milk, or semi-sweet |
| 1 tsp coconut oil, optional | For smoother chocolate |
| Optional: Pumpkin puree + spice (see notes) | |
Helpful Tools
1. Food Processor: For grinding oats into flour
2. Silicone Muffin Pan: Allows easy removal
3. Microwave-Safe Bowls: For quick melting
Pro-Tips
- Grind Oats Thoroughly: Process until powdery to avoid gritty texture
- Mind Your Microwave: Heat peanut butter mixture in 15-second bursts if needed
- Press Firmly: Compact the base layer to prevent crumbling
- Looking for a Reese’s-inspired upgrade? Try our Homemade Reeses Cups Better Than Store Bought for chocolate-peanut butter perfection!
- Freeze for Faster Setting: Reduce chilling time to 45 minutes in freezer
How to Make No Bake Peanut Butter Oat Cups
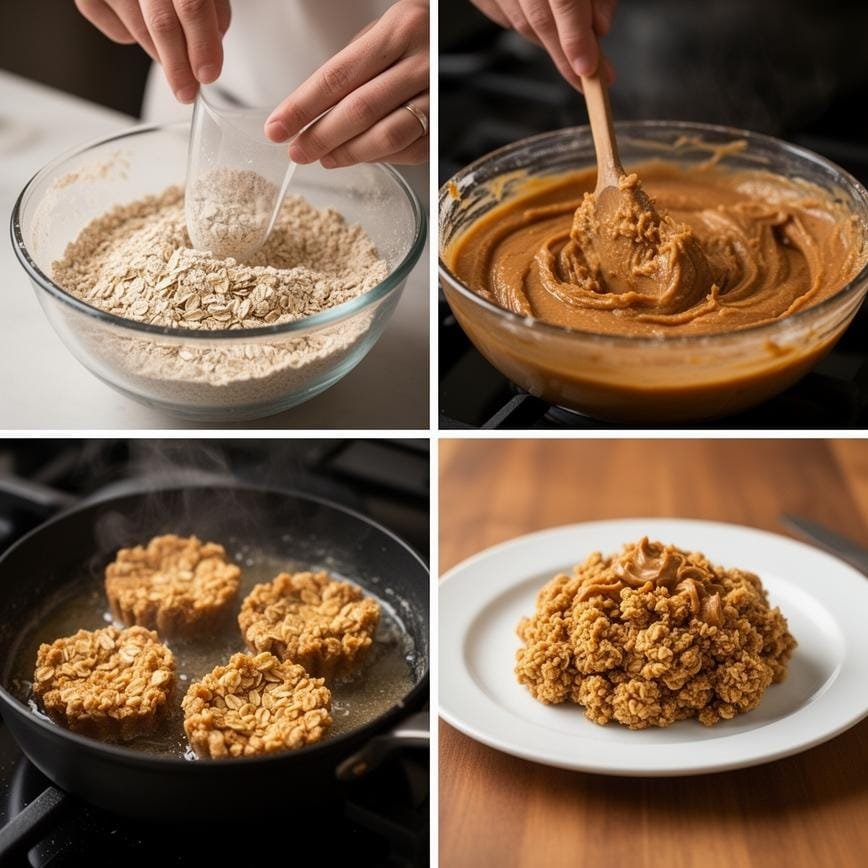
- Blitz oats in a food processor until fine.
- Combine peanut butter and maple syrup in a microwave-safe bowl. Microwave 40-60 seconds, then stir vigorously until smooth.
- Gradually add oat flour, mixing until thick but pliable (add pumpkin puree or extra syrup if too dry).
- Line a muffin pan with liners or use silicone molds. Divide mixture evenly, pressing firmly with fingers.
- Melt chocolate chips with coconut oil in 30-second intervals, stirring between bursts.
- Pour melted chocolate over each cup, smoothing tops. Optional: Add flaky salt or sprinkles before chocolate sets.
- Refrigerate 2-3 hours until firm. Remove from molds gently.
Variations
- Pumpkin Spice: Add 1/3 cup pumpkin puree + 1.5 tsp pumpkin spice
- Cocoa Crunch: Mix 2 tbsp cocoa powder into oat mixture
- Almond Joy Style: Top with shredded coconut and sliced almonds
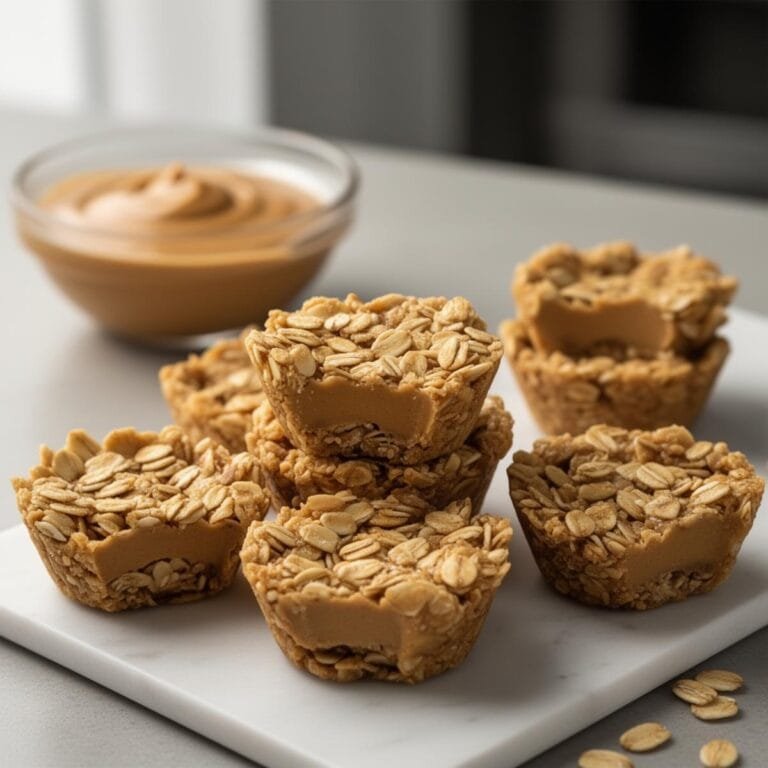
No Bake Peanut Butter Oat Cups
These No-Bake Peanut Butter Oat Cups are the ultimate healthy alternative to Reese’s Peanut Butter Cups. By blending rolled oats into a coarse flour and mixing them with creamy peanut butter and maple syrup, you create a protein-packed base that mimics the texture of the candy aisle favorite. Topped with a snap of dark chocolate, they are vegan, gluten-free, and ready in 30 minutes.
- Total Time: 15
- Yield: 12 cups
Ingredients
— The Peanut Butter Base —
1 cup creamy peanut butter (natural or regular)
1 ½ cups rolled oats (old fashioned or quick oats)
1/3 cup maple syrup (or honey)
2 tablespoons coconut oil, melted
1 teaspoon vanilla extract
Pinch of sea salt
— The Chocolate Layer —
1 cup semi-sweet or dark chocolate chips
1 tablespoon peanut butter (to mix into the chocolate)
Instructions
1. **Prep:** Line a standard muffin tin with 12 paper liners (or a mini muffin tin for 24 smaller bites).
2. **Blitz Oats (The Secret Step):** Place the rolled oats in a blender or food processor. Pulse a few times until they break down into a coarse flour. You don’t want a fine powder, but you don’t want whole oats either. This texture mimics the inside of a Reese’s cup.
3. **Make Base:** In a medium bowl, mix the blended oats, 1 cup of peanut butter, maple syrup, melted coconut oil, vanilla, and salt. Stir until a thick, dough-like mixture forms.
4. **Press:** Divide the dough evenly among the muffin cups (about 1.5 tablespoons per cup). Use the back of a spoon to press the mixture firmly into the bottom to create a flat, even layer.
5. **Melt Chocolate:** In a microwave-safe bowl, combine the chocolate chips with the remaining 1 tablespoon of peanut butter. Microwave in 30-second intervals, stirring in between, until completely smooth and glossy.
6. **Top:** Spoon the melted chocolate over the peanut butter bases. Tilt the pan gently to coat the top evenly.
7. **Set:** Place the muffin tin in the refrigerator for 30–60 minutes (or freezer for 15 minutes) until the chocolate is completely hardened.
8. **Serve:** Peel off the wrappers and enjoy! Store leftovers in the fridge.
Notes
Texture Preference: If you like a chewier snack (like a granola bar), you can skip the blender and use whole oats. If you want a candy-like texture, definitely blend them.
Peanut Free? You can substitute almond butter or sunflower seed butter for the peanut butter.
Oil Substitute: If you don’t have coconut oil, you can use melted butter, but coconut oil helps the cups firm up best when chilled.
Storage: Because natural peanut butter and coconut oil can soften at room temperature, these are best stored in the fridge for up to a week or the freezer for up to 3 months.
- Prep Time: 15
- Category: Dessert
- Method: No Bake
- Cuisine: American
- Diet: Vegan
FAQ
- Can I substitute maple syrup?
- Yes – honey or agave work, but texture may change slightly.
- How long do these last?
- Store refrigerated in airtight container up to 5 days.
Can I freeze them?
Absolutely! Freeze up to 3 months – thaw 10 minutes before eating.
These No Bake Peanut Butter Oat Cups redefine effortless indulgence – rich enough to satisfy cravings, wholesome enough for everyday enjoyment. Ready in minutes, loved by all ages! For more delicious ideas, follow me on Pinterest.