
Table of Contents
There’s something magical about transforming ordinary citrus peels into glistening, sweet-tart jewels that elevate both baking and snacking. candied lemon peel offers that perfect balance of bright citrus flavor with a satisfying sugary crunch. Whether you’re a seasoned baker or just discovering the joy of homemade confections, this simple technique will become a treasured skill in your kitchen repertoire.
Key Ingredients
The beauty of making candied lemon peel lies in its simplicity. You only need fresh citrus fruit, sugar, and water to create something truly special. The transformation from bitter peel to sweet treat happens through a careful process of blanching and simmering that draws out the natural oils while infusing the peel with sweetness.

Ingredients List
| Ingredient | Amount |
|---|---|
| 3 large oranges (can also use the equivalent of lemons, grapefruits, limes, or citrus of your choice, thoroughly washed and scrubbed; organic is recommended) | 3 large |
| Granulated sugar | 2 cups |
| Water | 1 cup |
| Fine granulated sugar for coating | As needed |
Helpful Tools
Having the right tools makes the candying process much smoother and more enjoyable. Here are three essential items you’ll want to have on hand:
- A sharp paring knife for precise peeling
- A heavy-bottomed saucepan for even heat distribution
- A wire cooling rack for proper drying
Pro-Tips for Perfect candied lemon peel
- Always use organic citrus when possible, especially since you’re consuming the peel. The blanching process removes some pesticides, but starting with clean, organic fruit is best.
- Don’t skip the blanching steps! This crucial process removes bitterness and ensures your candied lemon peel has that perfect sweet-tart balance. You can find more details about this technique in our Candied Orange Peel Recipe.
- Keep a close eye on the syrup temperature. You’re aiming for the soft ball stage (235-240°F) for that perfect candy texture.
- If your peels become too hard during storage, don’t worry! They’ll soften beautifully when baked into recipes.
- Save that precious citrus syrup! It makes an incredible addition to cocktails, lemonades, and other beverages.
How to Make candied lemon peel
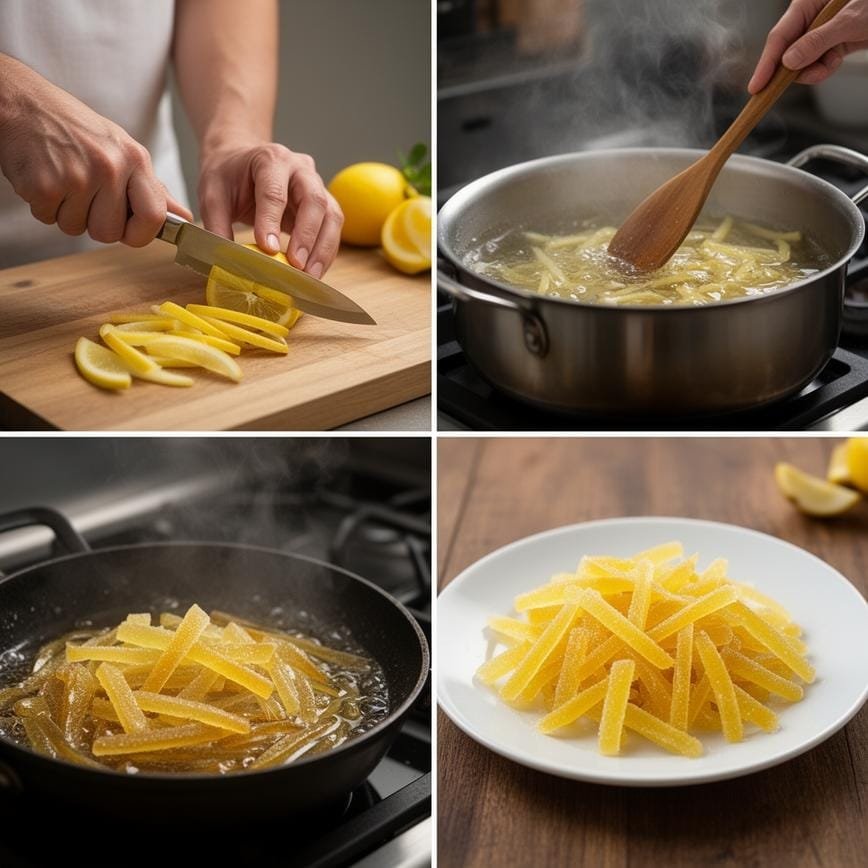
- Slice both ends off the citrus fruits to create flat surfaces.
- Cut through the peel vertically into 4 or more segments, depending on fruit size.
- Gently remove each peel segment, keeping the peel as intact as possible.
- Slice the peels into 1/4 inch wide strips.
- Place peels in a pot, cover with cold water, and bring to a boil.
- Boil for 15 minutes, then drain in a colander and rinse.
- Repeat the boiling and rinsing process 1-2 more times to reduce bitterness.
- In the same pot, combine 1 cup fresh water and 2 cups sugar.
- Bring to a boil, stirring until sugar dissolves completely.
- Add the blanched peels, reduce heat to low, and simmer for 45-60 minutes.
- Stir occasionally until peels become translucent and syrup thickens.
- Use a slotted spoon to remove peels, letting excess syrup drip off.
- Toss hot peels in fine sugar until well coated.
- Spread coated peels on a wire rack to dry completely, 1-2 days.
Variations to Try
Once you’ve mastered the basic technique, experiment with these delicious variations:
- Dip half of each candied peel in dark chocolate for an elegant treat
- Add spices like cinnamon, cardamom, or star anise to the syrup during cooking
- Try different citrus combinations like lemon-orange or grapefruit-lime for unique flavor profiles
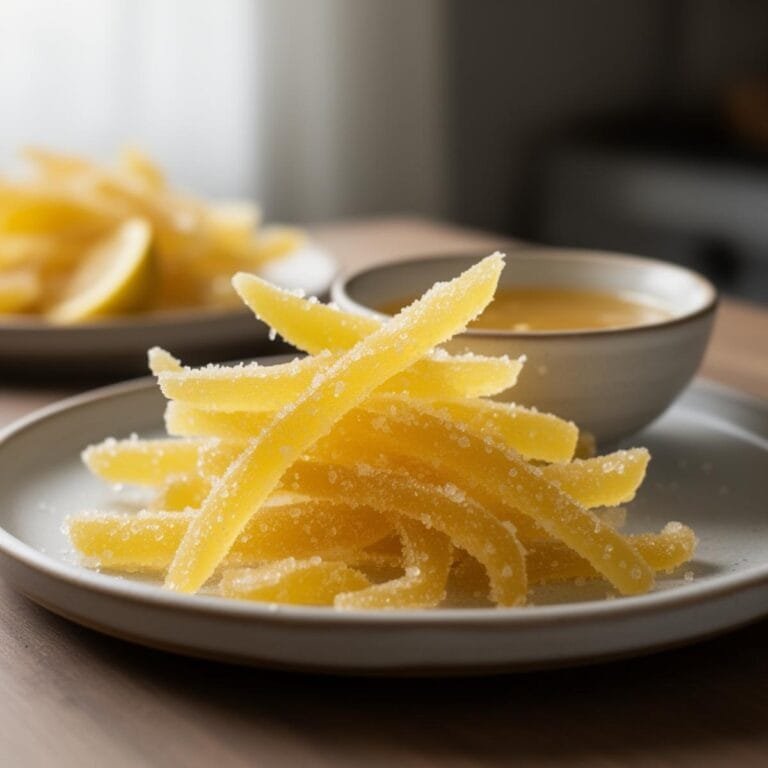
Candied lemon peel
This homemade Candied Lemon Peel recipe transforms simple citrus scraps into a sweet, chewy, and aromatic treat. Far superior to the hard, flavorless store-bought tubs, these homemade peels are tender, translucent, and bursting with bright citrus flavor. They are perfect for holiday baking (like fruitcake or Panettone), dipping in dark chocolate for an elegant gift, or simply snacking on like candy. This method works equally well for oranges and grapefruits!
- Total Time: 80
- Yield: 2 cups peels
Ingredients
— The Fruit —
4 large lemons (or 3 large Navel oranges), organic and wax-free preferred
Water (for blanching)
— The Syrup —
2 cups granulated sugar
2 cups water
— The Coating —
1/2 cup granulated sugar (superfine sugar works best)
Instructions
1. **Prep the Peels:** Wash the fruit thoroughly. Score the skin into quarters lengthwise and peel it off the fruit (save the flesh for juice!). Slice the peels into ¼-inch wide strips. *Tip: You want some of the white pith for texture, but if it’s very thick, carefully trim a little off.*
2. **Blanch (Crucial Step):** Place the peels in a medium saucepan and cover with cold water. Bring to a boil. Once boiling, drain the water. Repeat this process (fill, boil, drain) 2 more times. This removes the bitter oils from the pith so the final candy is sweet, not bitter.
3. **Simmer:** In the same saucepan, combine the 2 cups of sugar and 2 cups of water. Bring to a simmer, stirring until the sugar dissolves. Add the blanched peels.
4. **Cook:** Reduce heat to low and simmer gently for 45–60 minutes. The peels should become translucent and tender, and the syrup will thicken slightly.
5. **Dry:** Remove the peels from the syrup using a slotted spoon or spider strainer. Place them in a single layer on a wire rack set over a baking sheet to catch drips. Let them dry for about 30–60 minutes until they are tacky but not soaking wet.
6. **Coat:** Toss the tacky peels in the remaining ½ cup of sugar until fully coated. (If you prefer them plain/glossy, skip this step).
7. **Cure:** Spread the sugared peels back onto the wire rack or parchment paper. Let them dry completely at room temperature for 12–24 hours until they are no longer sticky to the touch.
8. **Store:** Store in an airtight container in a cool, dry place.
Notes
Orangettes: To make chocolate-dipped orange peels (Orangettes), use oranges instead of lemons. Skip the final sugar tossing step. Let the peels dry completely, then dip half (or all) of the strip into melted dark chocolate.
Leftover Syrup: Don’t throw away the cooking liquid! You now have a rich ‘Lemon Simple Syrup’ that is amazing in iced tea, cocktails (like a Lemon Drop Martini), or drizzled over sponge cake.
Storage: Properly dried candied peel will last in an airtight jar at room temperature for up to 1 month, or in the refrigerator for 6 months.
Texture Control: For softer peels, simmer longer. For harder/chewier peels, dry them longer.
- Prep Time: 20
- Cook Time: 60
- Category: Dessert
- Method: Stovetop
- Cuisine: French / European
- Diet: Vegan
Frequently Asked Questions
How long does candied lemon peel last?
When stored in an airtight container in a cool, dry place, candied lemon peel will keep for at least a month. For longer storage, refrigerate for up to 3 months or freeze for up to 6 months.
Can I use the leftover citrus syrup?
Absolutely! The citrus-infused syrup is liquid gold. Use it to sweeten tea, flavor cocktails, drizzle over pancakes, or brush onto cakes for extra moisture and flavor.
Why did my candied peel turn out too hard?
If your candied peel becomes too hard, it may have been cooked at too high a temperature or dried for too long. For softer peels, reduce drying time and consider storing them in the refrigerator or freezer instead of at room temperature.
Conclusion
Making candied lemon peel at home is a rewarding process that connects you to generations of traditional confectionery. The bright, zesty flavor and satisfying texture make these treats perfect for holiday baking, gift-giving, or simply enjoying as a sophisticated sweet treat. With just a few simple ingredients and some patience, you can create something truly special that will elevate your baking and delight your taste buds.
For more delicious ideas, follow me on Pinterest