
Table of Contents
There’s something magical about biting into a warm, flaky chocolate croissant—the delicate layers shatter to reveal rich, melted chocolate within. While these buttery pastries may seem intimidating to make at home, with patience and the right technique, you can create bakery-quality chocolate croissants right in your own kitchen. This comprehensive recipe will guide you through every step, from preparing the perfect laminated dough to achieving those signature golden layers.
Key Ingredients for Perfect Chocolate Croissants
The secret to exceptional chocolate croissants lies in using high-quality ingredients and precise technique. European-style butter with a higher fat content creates more distinct layers, while bread flour provides the necessary structure to support those delicate folds. The chocolate filling should be of good quality—semi-sweet or bittersweet chocolate bars work best, as they melt beautifully without becoming too sweet or greasy.

Ingredients
| Ingredient | Amount |
|---|---|
| Unsalted butter, softened | 1/4 cup (4 Tbsp; 56g) |
| All-purpose flour | 4 cups (500g), plus more for rolling |
| Granulated sugar | 1/4 cup (50g) |
| Salt | 2 teaspoons |
| Active dry or instant yeast | 1 Tablespoon |
| Cold whole milk | 1 and 1/2 cups (360ml) |
| Semi-sweet or bittersweet chocolate, chopped | 4-ounce bar (113g) |
| Confectioners’ sugar (optional) | For dusting |
| Butter layer (for laminating) | 1 and 1/2 cups (340g) unsalted butter, 2 Tablespoons (16g) all-purpose flour |
| Egg wash | 1 large egg, 2 Tablespoons (30ml) whole milk |
Helpful Tools for Making Chocolate Croissants
Having the right tools makes the croissant-making process much smoother:
- A stand mixer with dough hook attachment for consistent kneading
- A silicone baking mat for precise measurements and easy dough handling
- A pizza cutter or sharp knife for clean, precise cuts when shaping
Pro Tips for Perfect Chocolate Croissants
- Keep everything cold: Temperature control is crucial for creating distinct layers. If the butter gets too warm during lamination, it will melt into the dough instead of creating separate layers.
- Be patient with resting times: Don’t rush the refrigeration periods between folds. These rests allow the gluten to relax and keep the butter firm, resulting in better layers.
- Measure precisely: Use a ruler when rolling out the dough to ensure even layers. Inconsistent sizing can lead to uneven baking.
- Practice the windowpane test: To ensure your dough is properly kneaded, stretch a small piece until it’s thin enough to see light through without tearing. This indicates proper gluten development.
- Master the folding technique: For visual guidance on shaping chocolate croissants, check out this helpful Smores Cinnamon Rolls tutorial, which demonstrates similar rolling and shaping techniques.
How to Make Chocolate Croissants
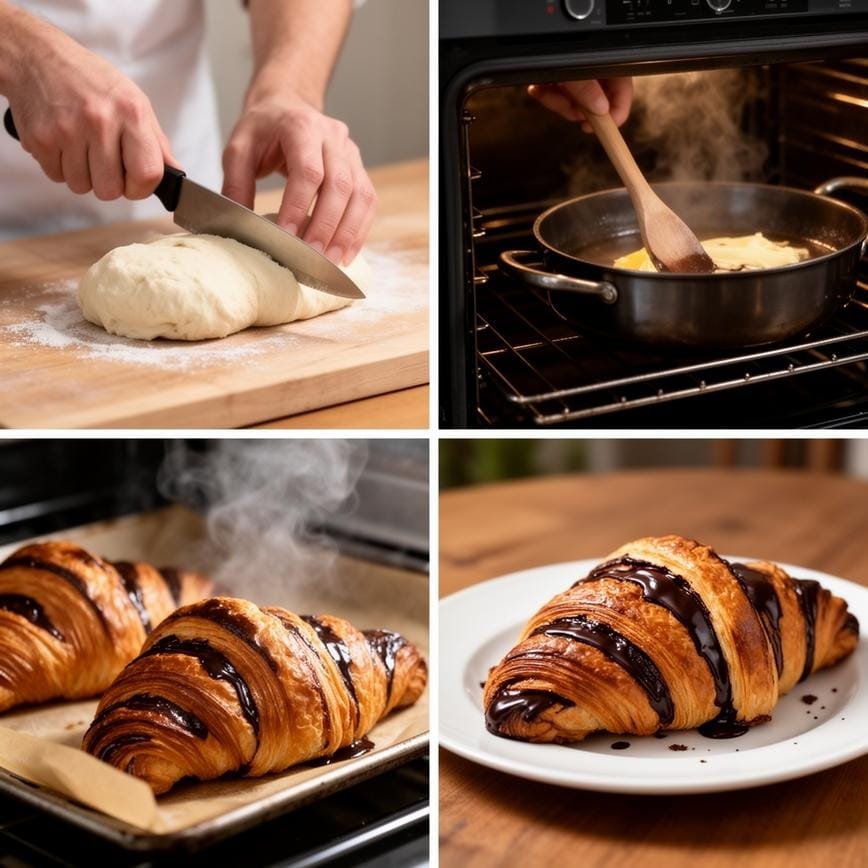
- Prepare the dough: In a stand mixer, combine flour, sugar, salt, and yeast. Add milk gradually while mixing, then knead for 5 minutes until smooth. Let rest in refrigerator for 30 minutes.
- Create butter layer: Beat butter with flour until smooth, shape into a 7×10-inch rectangle, and chill for 30 minutes until firm but pliable.
- First lamination: Encase the butter in the dough, roll into a 10×20-inch rectangle, fold into thirds, and refrigerate for 30 minutes.
- Repeat lamination: Perform two more folds with 30-minute rests between each, then refrigerate for 4 hours or overnight.
- Shape the croissants: Roll dough to 8×20 inches, cut into 16 rectangles, place chocolate at one end, and roll tightly.
- Final proof: Let shaped croissants rest at room temperature for 1 hour, then refrigerate for 1-12 hours.
- Bake: Brush with egg wash and bake at 400°F for 20 minutes, rotating pans halfway through.
Delicious Variations to Try
- Almond Chocolate Croissants: Add almond paste alongside the chocolate for a nutty flavor dimension.
- White Chocolate Raspberry: Substitute white chocolate and add a thin layer of raspberry preserves for a fruity twist.
- Chocolate Hazelnut: Spread a thin layer of chocolate hazelnut spread before adding the chocolate pieces for extra richness.
Chocolate Croissants Recipe
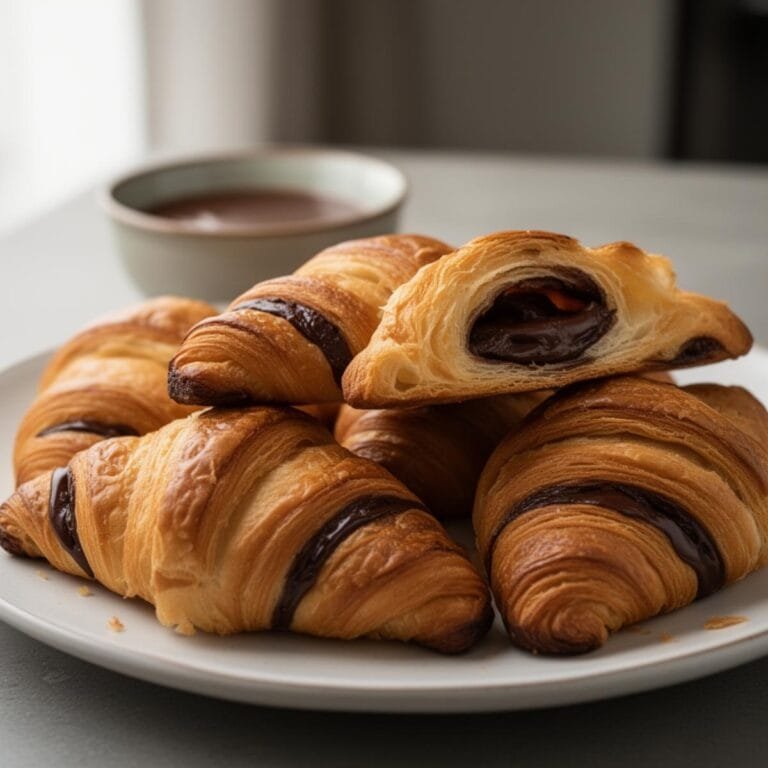
These Easy Chocolate Croissants (Pain au Chocolat) give you all the flaky, buttery goodness of a French bakery in under 30 minutes. By using high-quality store-bought puff pastry and rich dark chocolate, you can skip the complicated dough-making process and still enjoy warm, golden pastries oozing with melted chocolate. They are best served fresh from the oven with a dusting of powdered sugar.
- Total Time: 35
- Yield: 8 croissants
Ingredients
2 sheets frozen puff pastry, thawed (but still cold)
1 large egg + 1 tablespoon water (for egg wash)
2 bars (4 oz each) semi-sweet or dark chocolate (or chocolate batons)
Powdered sugar (for dusting)
Instructions
1. **Thaw Pastry:** Remove the puff pastry from the freezer and let it thaw on the counter for about 40 minutes. It should be pliable enough to unfold without cracking, but still cold to the touch. (If it gets too warm/sticky, pop it in the fridge).
2. **Preheat:** Preheat your oven to 400°F (200°C). Line two large baking sheets with parchment paper.
3. **Prep Chocolate:** If using chocolate bars, chop them into long, thin strips (batons) or ½-inch chunks. You want the chocolate to span the width of the croissant.
4. **Cut Dough:** Unfold one sheet of pastry onto a lightly floured surface. Use a rolling pin to gently smooth out the seams. Cut the sheet into 4 equal rectangles (or 6 for smaller pastries).
5. **Fill & Roll:** Place a row of chocolate along the short edge of a rectangle, leaving about ½ inch of space. Roll the dough over the chocolate once to enclose it. Place a *second* row of chocolate next to the roll, and continue rolling up the rest of the dough. (Traditional Pain au Chocolat has two sticks of chocolate inside!). Place the croissant seam-side down on the baking sheet.
6. **Repeat:** Repeat with the remaining dough and chocolate, spacing them 2 inches apart on the baking sheet.
7. **Egg Wash:** Whisk the egg and water together. Brush the tops of the croissants generously with the egg wash. This gives them that signature glossy, golden-brown shine.
8. **Bake:** Bake for 20–25 minutes, or until the pastries are puffed high and deep golden brown.
9. **Serve:** Let them cool on the pan for 10 minutes to allow the chocolate to set slightly. Dust with powdered sugar and serve warm.
Notes
Chocolate Choice: For the authentic taste, use semi-sweet or dark chocolate (60% cocoa). Milk chocolate tends to disappear into the dough or become cloying.
Cold Dough is Key: The layers in puff pastry rely on cold butter. If your kitchen is hot and the dough gets sticky, chill the shaped croissants in the fridge for 20 minutes before baking to ensure maximum puff.
Don’t Use Chips: Avoid standard chocolate chips if possible; they contain stabilizers that prevent them from melting into that luscious pool of chocolate you want. Chopped bars work much better.
Storage: These are best eaten the day they are made. If reheating leftovers, use an oven or toaster oven (350°F for 5 mins)—never the microwave, or they will get soggy.
- Prep Time: 15
- Cook Time: 20
- Category: Breakfast
- Method: Bake
- Cuisine: French
- Diet: Vegetarian
Frequently Asked Questions
Why didn’t my croissants develop flaky layers?
The most common reason is that the butter became too warm during lamination, causing it to incorporate into the dough rather than creating distinct layers. Keep your work surface cool and work quickly during the folding process.
Can I make the dough ahead of time?
Yes! The dough can rest in the refrigerator for up to 24 hours between steps, or you can freeze it after the third turn for up to 3 months. Thaw overnight in the refrigerator before continuing.
How do I know when my croissants are properly proofed?
Properly proofed croissants will look noticeably puffy and jiggly when you gently shake the baking sheet. They should have almost doubled in size but still hold their shape when touched lightly.
Conclusion
Making chocolate croissants from scratch is a labor of love that rewards patience and precision with incomparable flavor and texture. The satisfaction of pulling a tray of golden, flaky croissants from your oven, filling your kitchen with their buttery aroma, is truly unmatched.
While the process requires time and attention to detail, each step builds toward creating something extraordinary. Remember that even imperfect homemade croissants will taste better than most store-bought versions. With practice, you’ll develop the touch and timing that makes these pastries truly special. For more delicious ideas, follow me on Pinterest