
Table of Contents
There’s something irresistible about the smoky char and sweet juiciness of grilled corn on the cob. Whether you’re serving it at a backyard barbecue, a picnic, or a simple weeknight dinner, this classic side dish brings a burst of summer flavor to the table.
The secret lies in a few simple steps: prepping the corn, brushing it with a rich, tangy sauce, and grilling it until the kernels are tender and lightly caramelized. In this guide, you’ll learn exactly how to achieve perfectly grilled corn every time, along with tips for customizing it to your taste. Grab your favorite ears of corn, fire up the grill, and let’s get cooking!
Key Ingredients
The magic of grilled corn comes from a handful of pantry staples that combine to create a creamy, tangy, and slightly spicy coating. Fresh corn provides the natural sweetness, while butter adds richness.
Mayonnaise helps the seasoning adhere and adds a silky texture, and a blend of cotija cheese, chili powder, and lime juice delivers the classic elote-inspired finish. Together, these ingredients create a balanced flavor profile that’s both indulgent and bright. For more try Elote Corn Dip.

Ingredients List
Below is the complete list of ingredients you’ll need for this recipe.
| Ingredient | Amount |
|---|---|
| Fresh corn on the cob (husks removed) | 6 ears |
| Unsalted butter, melted | 3 tablespoons |
| Mayonnaise | ¼ cup |
| Cotija cheese, finely crumbled | ½ cup |
| Chili powder (or smoked paprika for milder heat) | 1 teaspoon |
| Garlic powder | ½ teaspoon |
| Fresh lime juice | 1 tablespoon |
| Fresh cilantro, chopped (optional, for garnish) | 2 tablespoons |
| Salt | to taste |
Helpful Tools
To grill corn efficiently, you’ll need a few basic tools. A sturdy grill—gas or charcoal—provides the necessary heat for those beautiful grill marks. Long tongs let you turn the ears safely without burning your hands. A pastry brush or silicone brush is ideal for spreading the butter‑mayonnaise mixture evenly.
A medium bowl helps you combine the sauce ingredients, while a small spoon or spatula makes it easy to sprinkle the cotija and seasonings. Finally, a cutting board and a sharp knife are handy for trimming any excess silk and for chopping cilantro if you choose to garnish.
Pro-Tips
For the juiciest results, soak the shucked corn in cold water for 15‑20 minutes before grilling; this prevents the kernels from drying out. If you prefer a smokier flavor, add a few wood chips (such as apple or hickory) to the coals or use a smoker box on a gas grill.
When applying the sauce, work quickly while the corn is still hot so the butter melts and the mayo creates a glossy coating. For an extra pop of tang, squeeze a little more lime juice over the finished ears just before serving. Want to try a delicious dip that pairs perfectly with grilled corn? Check out this elote corn dip recipe:
How to Make
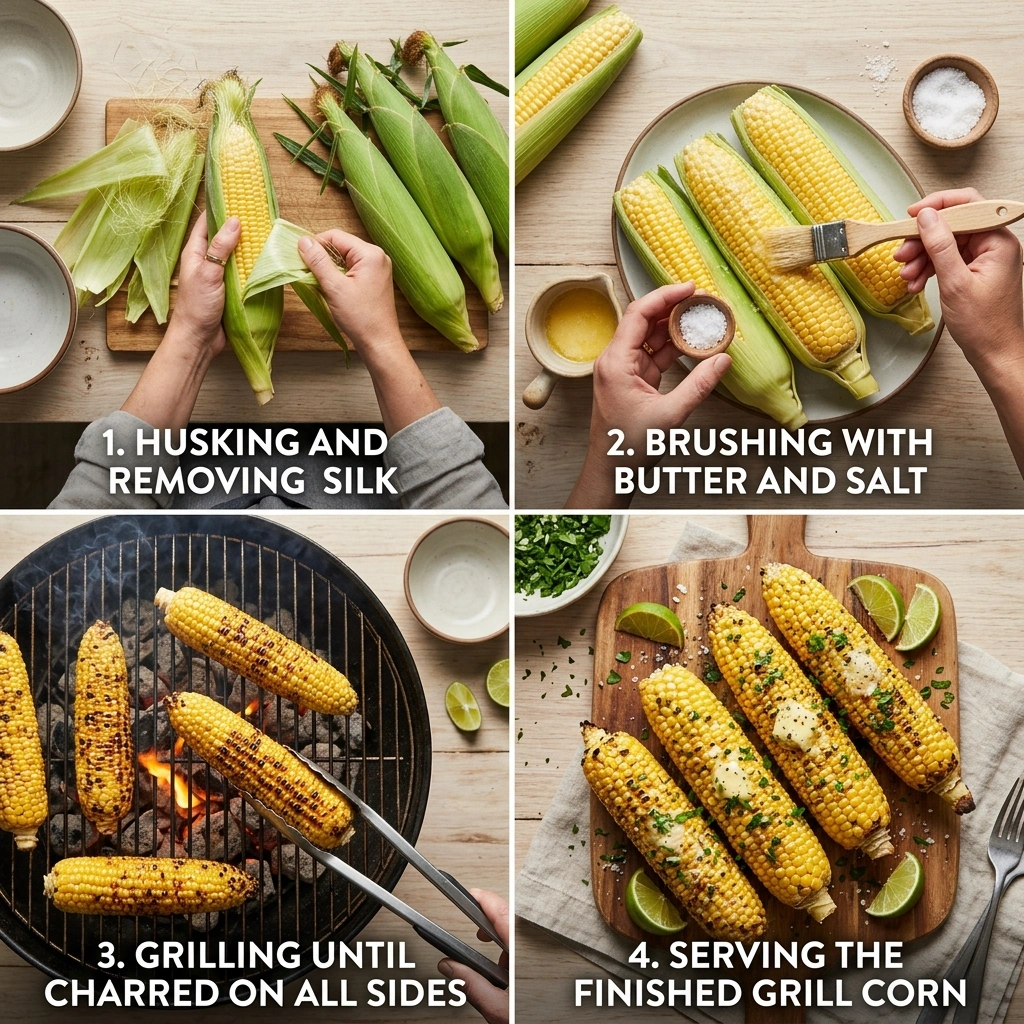
- Preheat your grill to medium‑high heat (about 375‑400°F). If using charcoal, arrange the coals for direct heat.
- While the grill heats, combine the melted butter, mayonnaise, chili powder, garlic powder, lime juice, and a pinch of salt in a bowl. Stir until smooth.
- Place the corn ears directly on the grill grates. Grill, turning every 2‑3 minutes with tongs, until the kernels are lightly charred in spots and tender, about 10‑12 minutes total.
- Remove the corn from the grill and place it on a serving platter or a large bowl.
- Using a pastry brush, generously coat each ear with the butter‑mayonnaise mixture, ensuring all sides are covered.
- While the coating is still warm, sprinkle the crumbled cotija cheese evenly over the corn, then add an extra light dusting of chili powder if you like more heat.
- Garnish with chopped cilantro and a final squeeze of lime juice. Serve immediately while hot.
Variations
Feel free to tweak the classic recipe to suit your palate. For a cheesier version, increase the cotija or add a sprinkle of grated Parmesan. If you enjoy a bit of heat, mix in a dash of cayenne pepper or a few drops of hot sauce into the butter‑mayonnaise blend.
A herbaceous twist can be achieved by adding chopped fresh basil or parsley alongside the cilantro. For a vegan adaptation, substitute the butter with olive oil, use vegan mayo, and replace cotija with a crumbled plant‑based feta or nutritional yeast. Each variation keeps the core grilled corn flavor while offering a new dimension of taste.
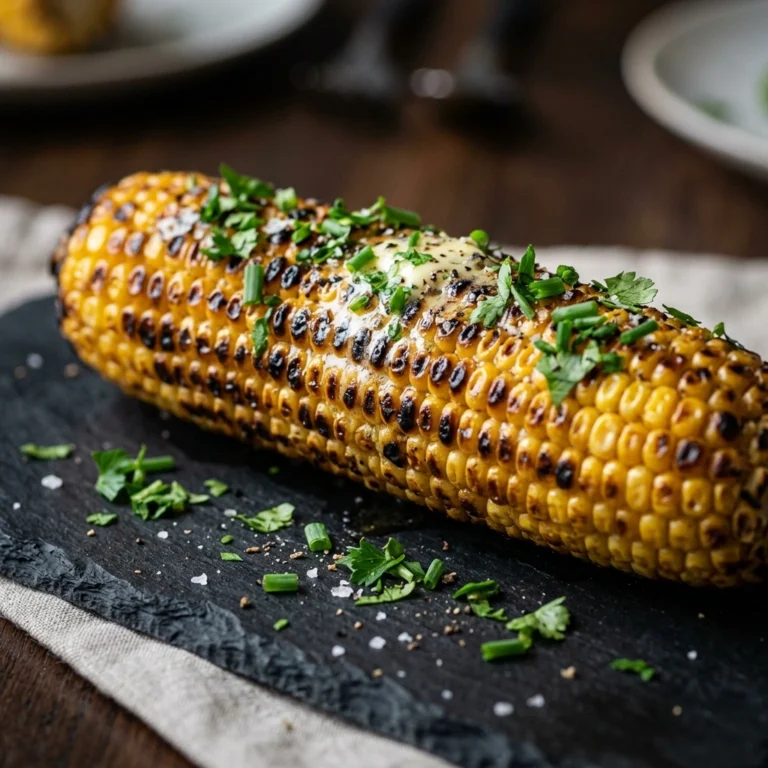
Grilled Corn on the Cob: Best BBQ Side Dish
There’s something irresistible about the smoky char and sweet juiciness of grilled corn on the cob. Whether you’re serving it at a backyard barbecue, a picnic, or a simple weeknight dinner, this classic side dish brings a burst of summer flavor to the table. The secret lies in prepping the corn, brushing it with a rich, tangy sauce, and grilling until tender and lightly caramelized.
- Total Time: 22
- Yield: 6 servings
Ingredients
6 ears Fresh corn on the cob, husks removed
3 tbsp Unsalted butter, melted
¼ cup Mayonnaise
½ cup Cotija cheese, crumbled
1 tsp Chili powder (or smoked paprika for milder heat)
½ tsp Garlic powder
1 tbsp Fresh lime juice
2 tbsp Fresh cilantro, chopped (optional garnish)
Salt to taste
Instructions
1. Heat: Preheat your grill to medium-high (375-400°F).
2. Sauce: Whisk together melted butter, mayonnaise, chili powder, garlic powder, lime juice, and a pinch of salt.
3. Grill: Place shucked corn directly on the grill grates. Grill for 10-12 minutes, turning every few minutes, until tender and lightly charred.
4. Coat: Brush the warm corn generously with the butter-mayonnaise mixture.
5. Top: Sprinkle with crumbled cotija cheese, extra chili powder, and cilantro. Serve immediately with extra lime wedges.
Notes
Pro-Tips:
• Soak shucked corn in cold water for 15-20 minutes before grilling to keep kernels extra juicy.
• Work quickly when applying the sauce while the corn is hot so the butter and mayo melt into the kernels.
• Use a pastry brush for even application of the creamy sauce.
Variations:
• Spicy: Add a dash of cayenne pepper or hot sauce to the butter-mayonnaise mixture.
• Herbaceous: Toss in fresh basil or parsley along with the cilantro.
• Vegan: Substitute butter with olive oil, use vegan mayo, and replace cotija with nutritional yeast or a plant-based feta crumble.
- Prep Time: 10
- Cook Time: 12
- Category: Side Dish
- Method: Grill
- Cuisine: Mexican/American
FAQ
How do I prevent the corn from sticking to the grill?
Make sure the grill grates are clean and well‑oiled before placing the corn. Brushing the ears with a little oil or the butter‑mayonnaise mixture also creates a non‑stick surface.
Is it necessary to soak the corn before grilling?
Soaking is optional but recommended, especially if you’re grilling over high heat. It adds moisture and reduces the chance of the kernels drying out.
How long can I store leftover grilled corn?
Allow the corn to cool, then wrap each ear tightly in plastic wrap or place in an airtight container. Refrigerate for up to 3 days. Reheat on the grill or in a microwave before serving.
Conclusion
Grilled corn on the cob is a timeless favorite that’s simple to prepare yet delivers big flavor. By following the steps above—prepping a creamy sauce, grilling to perfect char, and finishing with cotija, chili, and lime—you’ll create a side dish that’s sure to impress. Experiment with the variations to make it your own, and don’t forget to pair it with the elote corn dip for an extra‑delicious twist.
For more delicious ideas, follow me on Pinterest