
Craving something rich, chocolatey, and peanut buttery without turning on the oven? Look no further than this No-Bake Peanut Butter Brownie recipe. It’s the perfect solution for a quick dessert fix, post-workout snack, or guilt-free treat that satisfies your sweet tooth without the guilt. With just a handful of wholesome ingredients and zero baking required, these little bites are a game-changer for anyone who loves the classic combo of chocolate and peanut butter. Whether you’re a busy parent, a fitness enthusiast, or just someone who loves easy desserts, this recipe is for you.
Why This Recipe Works
This No Bake Peanut Butter Brownie recipe is a winner for several reasons. First, it’s incredibly simple—no baking, no complicated steps, and minimal cleanup. Second, it uses natural, whole-food ingredients that are easy to find and good for you. And third, the flavor and texture are absolutely spot-on: rich, fudgy brownie base, creamy peanut butter filling, and a glossy chocolate drizzle that takes it over the top. It’s the kind of dessert that feels indulgent but won’t leave you feeling sluggish.
Key Ingredients
The magic of this recipe lies in its simplicity and the quality of its ingredients. Each component plays a crucial role in creating the perfect balance of flavor and texture. The almond flour provides a nutty, slightly sweet base that holds everything together. Peanut butter adds richness and that unmistakable flavor we all love. Cocoa powder delivers deep chocolate notes without the need for refined sugar. And maple syrup adds just the right amount of natural sweetness. The combination is pure dessert perfection.
Ingredients List
Here’s everything you’ll need to make these delicious No Bake Peanut Butter Brownies:
| Component | Ingredients |
|---|---|
| Brownies | 1 cup almond flour, 1/2 cup peanut butter*, 1/4 cup cocoa powder, 1/4 cup maple syrup, 1 tsp vanilla extract, 1/4 tsp salt |
| Peanut Butter | 1/3 cup peanut butter, 1/2 tbsp maple syrup, 1/2 tbsp coconut oil, melted |
| Chocolate Drizzle | 1/4 cup chocolate chips, 1 tsp coconut oil |
| Optional | Flaky sea salt |
Helpful Tools
Having the right tools can make this recipe even easier and more enjoyable. Here are a few items that will help you achieve perfect results every time:
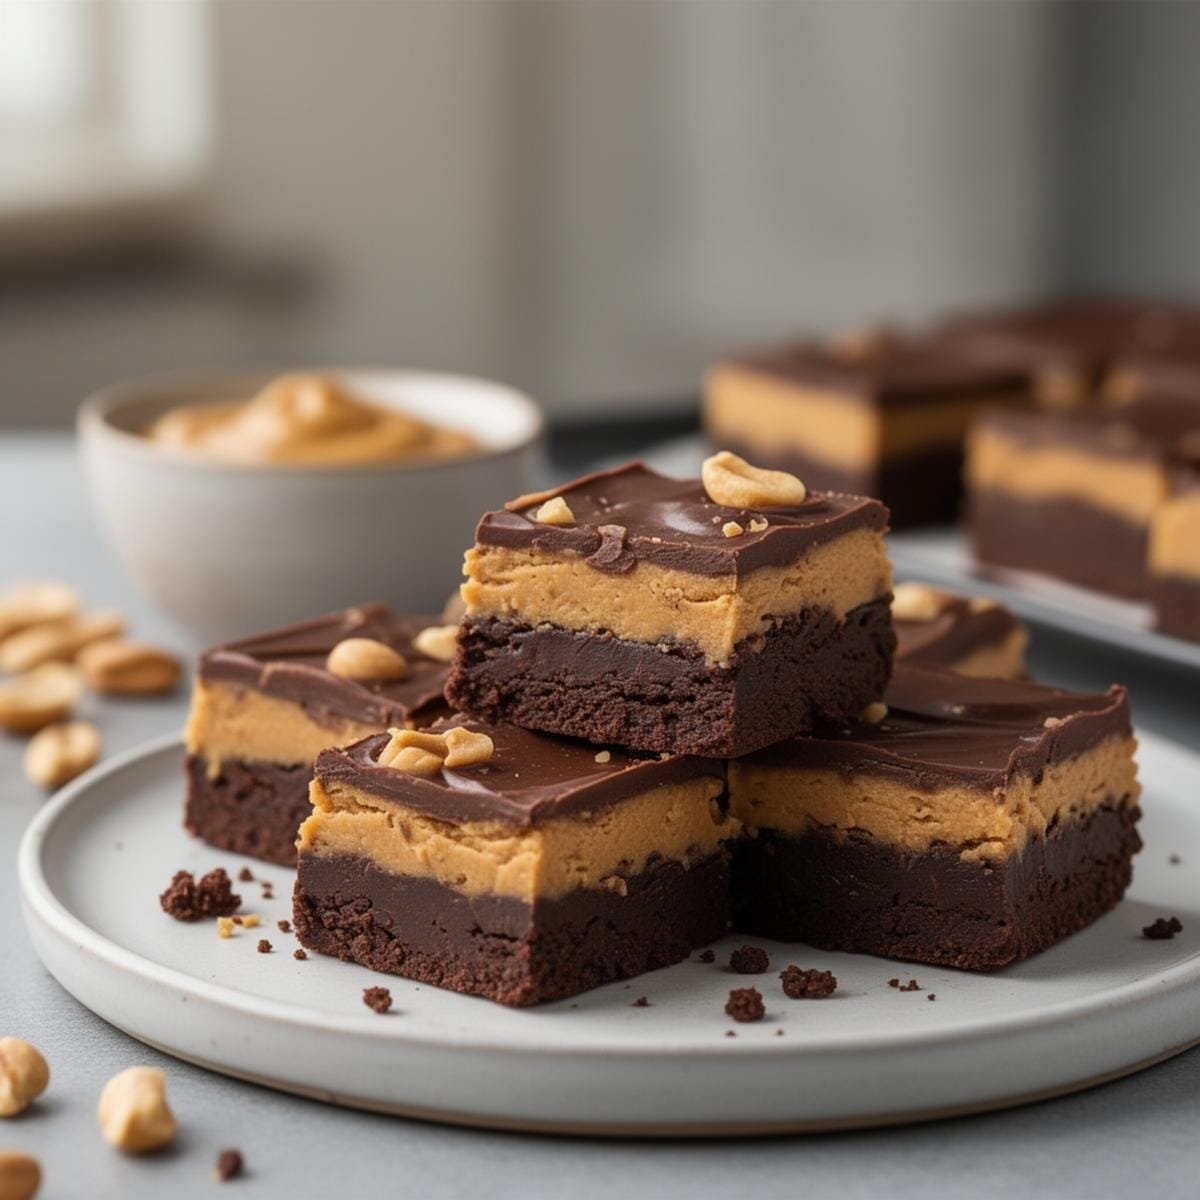
1. Silicone Muffin Pan: This is ideal for creating individual brownie cups that are easy to remove and serve. If you don’t have one, a regular muffin tin with liners works just as well.
2. Mixing Bowls: You’ll need at least two bowls—one for the brownie dough and one for the peanut butter filling.
3. Spatula: A good spatula will help you mix the ingredients thoroughly and spread the dough evenly in the muffin cups.
Pro-Tips for Success
To ensure your No Bake Peanut Butter Brownies turn out perfectly every time, here are some pro-tips to keep in mind:
- 1. Use Room Temperature Ingredients: Make sure your peanut butter and coconut oil are at room temperature for easier mixing and a smoother texture.
- 2. Press Firmly: When pressing the brownie dough into the muffin cups, make sure to press it firmly and evenly to create a solid base that won’t crumble.
- 3. Chill Before Serving: For the best texture, chill the brownie cups in the freezer for at least 5-10 minutes before adding the chocolate drizzle. This helps the peanut butter filling set and makes the brownies easier to handle.
- 4. Don’t Overheat the Chocolate: When melting the chocolate chips and coconut oil, be careful not to overheat them. Heat in 30-second intervals, stirring between each, until just melted.
- 5. Try a Variation: If you want to switch things up, try adding a layer of crushed pretzels to the brownie base for a sweet and salty twist. Or for a different flavor profile, check out these Strawberry Cheesecake Crunch Bites for more delicious inspiration.
How to Make No Bake Peanut Butter Brownie
Creating these indulgent treats is as easy as 1-2-3. Here’s a step-by-step guide to help you through the process:
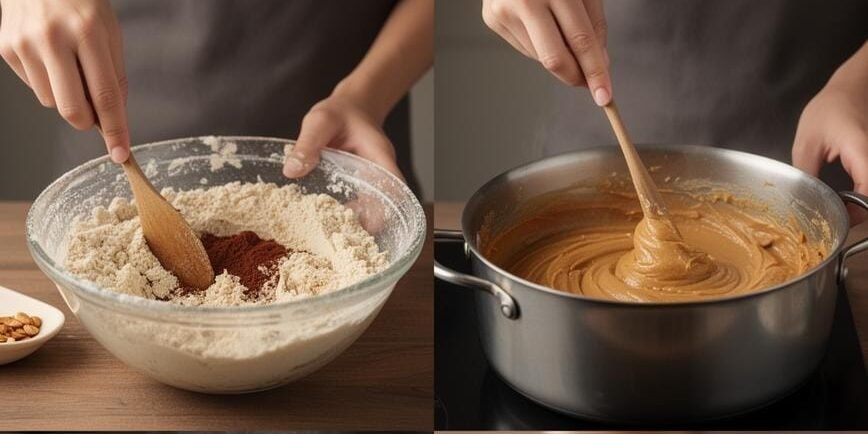
- 1. Prepare the Brownie Dough: In a mixing bowl, combine 1 cup of almond flour, 1/2 cup of peanut butter, 1/4 cup of cocoa powder, 1/4 cup of maple syrup, 1 teaspoon of vanilla extract, and 1/4 teaspoon of salt. Mix until the ingredients are evenly combined and form a cohesive dough.
- 2. Prepare the Peanut Butter Filling: In a separate bowl, mix 1/3 cup of peanut butter, 1/2 tablespoon of maple syrup, and 1/2 tablespoon of melted coconut oil until smooth and creamy.
- 3. Assemble the Brownies: Divide the brownie dough among 6 slots in a silicone muffin pan (or a regular muffin tin lined with liners). Press the dough evenly across the bottom of each cup, then use your thumb to press a well in the center of each one.
- 4. Add the Filling: Spoon the peanut butter filling into the well of each brownie cup, spreading it evenly.
- 5. Chill: Place the brownie cups in the freezer for 5-10 minutes, or until the peanut butter filling is set.
- 6. Add the Chocolate Drizzle: In a microwave-safe bowl, melt 1/4 cup of chocolate chips and 1 teaspoon of coconut oil in 30-second intervals, stirring until smooth. Drizzle the melted chocolate over the top of each brownie cup.
- 7. Finish with Salt: If desired, sprinkle a pinch of flaky sea salt over the chocolate drizzle for a sweet and salty finish.
- 8. Set the Chocolate: If the chocolate doesn’t set immediately, place the brownie cups back in the freezer for 1 minute.
- 9. Serve or Store: Enjoy the brownies immediately, or store them in a sealed container in the refrigerator for up to 1 week.
Variations to Try
Once you’ve mastered the basic recipe, feel free to get creative with these variations:
1. Add Crunch: Mix in some crushed almonds or pecans into the brownie dough for added texture.
2. Switch the Nut Butter: Try using almond butter or cashew butter instead of peanut butter for a different flavor profile.
3. Add Protein: Stir in a scoop of your favorite protein powder into the brownie dough for an extra protein boost.
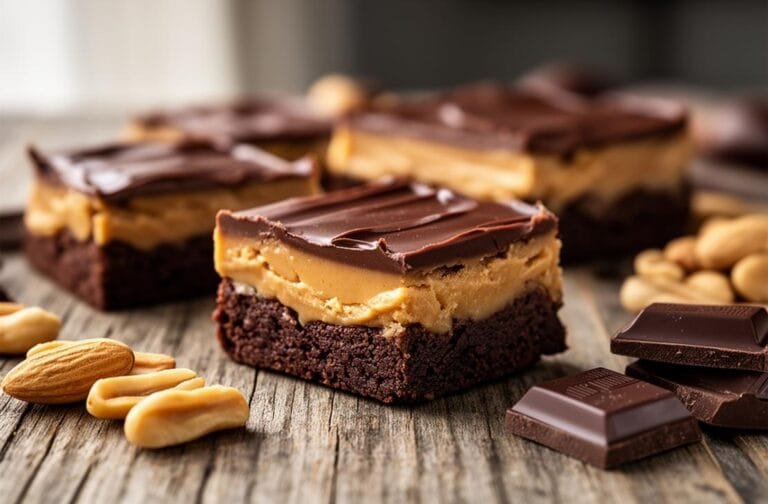
No Bake Peanut Butter Brownie
These No-Bake Peanut Butter Brownies are rich, fudgy, and intensely chocolatey without ever turning on the oven. Made with a wholesome base of dates, walnuts, and cocoa, they are swirled with creamy peanut butter and topped with a glossy chocolate layer. A perfect guilt-free dessert that keeps well in the fridge.
- Total Time: 75
- Yield: 16 squares
Ingredients
— The Brownie Base —
2 cups (350g) Medjool dates, pitted (soft and sticky)
2 cups (200g) raw walnuts (or almonds)
¾ cup (65g) unsweetened cocoa powder (Dutch-processed is best)
¼ cup (60g) creamy peanut butter
1 teaspoon vanilla extract
¼ teaspoon salt
1–2 tablespoons water (only if needed to bind)
— The Topping —
½ cup (85g) semi-sweet chocolate chips
1 teaspoon coconut oil (optional, for gloss)
2 tablespoons creamy peanut butter (for the swirl)
Instructions
1. **Prepare the Dates:** If your dates are dry or stiff, soak them in a bowl of hot water for 10 minutes to soften. Drain them thoroughly before using.
2. **Process the Dry Ingredients:** In a food processor, pulse the walnuts (or almonds) and cocoa powder until the nuts are finely ground. (Be careful not to over-process into nut butter).
3. **Make the Dough:** Add the pitted dates, ¼ cup peanut butter, vanilla extract, and salt to the food processor. Pulse until a sticky, unified dough forms. It should hold together when pinched between your fingers. If it’s too crumbly, add 1 tablespoon of water and pulse again.
4. **Press into Pan:** Line an 8×8 inch square baking dish with parchment paper, leaving some overhang for easy removal. Dump the dough into the pan and press it down firmly into an even layer using the back of a spatula or your hands.
5. **Melt the Chocolate:** In a small microwave-safe bowl, combine the chocolate chips and coconut oil. Microwave in 30-second intervals, stirring in between, until completely melted and smooth.
6. **Add the Swirl:** Pour the melted chocolate over the brownie base and spread it to the edges. Dollop the remaining 2 tablespoons of peanut butter randomly over the wet chocolate.
7. **Create the Marble Effect:** Use a toothpick or the tip of a knife to swirl the peanut butter into the chocolate, creating a marbled pattern.
8. **Chill:** Place the pan in the refrigerator for at least 1–2 hours (or freezer for 30 minutes) to allow the chocolate to set and the base to firm up.
9. **Serve:** Lift the brownies out of the pan using the parchment paper handles. Slice into 16 squares. Store leftovers in the fridge.
Notes
Nut Free Option: If you have a nut allergy, you can substitute the walnuts with rolled oats (pulse them into a flour first) or sunflower seeds.
Texture Tip: The key to that fudgy ‘brownie’ texture is pressing the dough very firmly into the pan. The harder you press, the better the texture.
Storage: These brownies are best kept cold. Store them in an airtight container in the refrigerator for up to 1 week, or in the freezer for up to 2 months.
- Prep Time: 15
- Category: Dessert
- Method: No-Bake
- Cuisine: American
- Diet: Vegan
FAQ
Q: Can I make these brownies ahead of time?
A: Absolutely! These brownies can be made up to a week in advance and stored in the refrigerator. They’re perfect for meal prep or for having a healthy dessert on hand.
Q: Are these brownies gluten-free?
A: Yes, they are! The recipe uses almond flour instead of traditional wheat flour, making it naturally gluten-free.
Q: Can I freeze these brownies?
A: Yes, you can freeze them for up to 3 months. Just make sure they’re stored in an airtight container to prevent freezer burn.
Conclusion
These No Bake Peanut Butter Brownies are the perfect combination of indulgence and simplicity. They’re rich, satisfying, and made with wholesome ingredients that you can feel good about eating. Whether you’re looking for a quick dessert, a post-workout snack, or a treat to share with friends and family, this recipe delivers on all fronts. Plus, with the endless possibilities for variations, you’ll never get bored.
For more delicious ideas, follow me on My Pinterest