
Table of Contents
There’s something magical about biting into a homemade Reese’s cup—the perfect balance of creamy peanut butter and rich chocolate. While store-bought versions are delicious, making them at home lets you control the ingredients, ensuring a fresher, more decadent treat. Plus, they’re surprisingly easy to make!
Whether you’re whipping up a batch for a party, a gift, or just a sweet craving, these homemade Reese’s cups will become your new go-to recipe. Let’s dive into how you can create these irresistible treats in your own kitchen.
Key Ingredients
The beauty of this recipe lies in its simplicity. Here’s what makes these homemade Reese’s cups so special:
– Peanut Butter: The star of the show! Use smooth, high-quality peanut butter for the best texture.
– Butter & Brown Sugar: Adds richness and a slight caramelized depth to the filling.
– Powdered Sugar: Helps thicken the peanut butter mixture, giving it that classic Reese’s texture.
– Chocolate: Opt for good-quality melting chocolate (not eating chocolate) for a smooth, glossy finish.
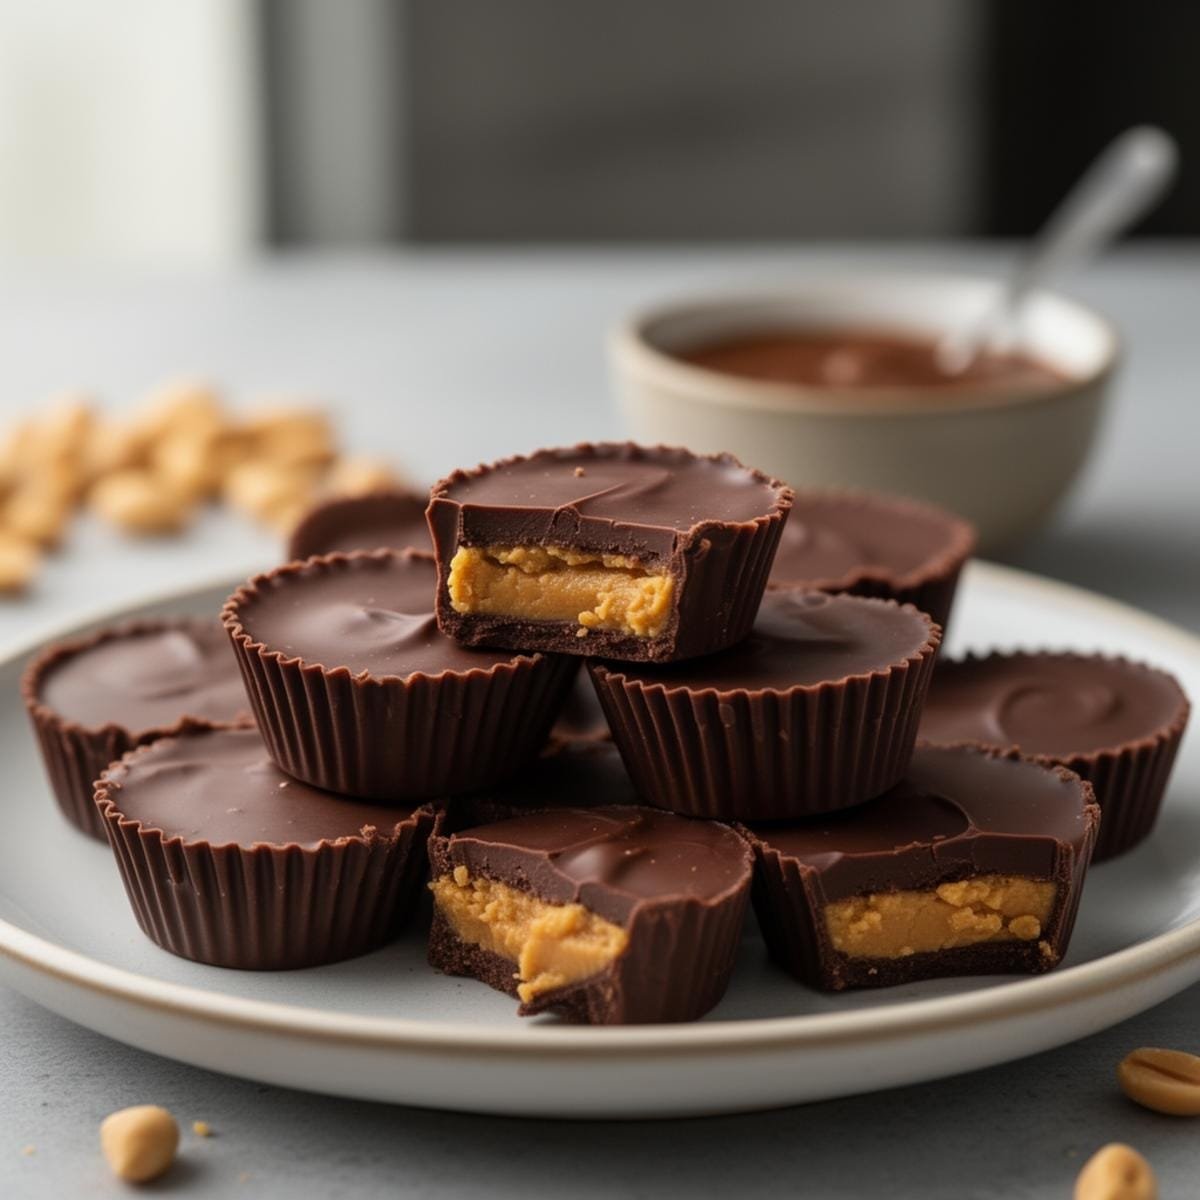
Ingredients List
| Ingredient | Quantity |
|---|---|
| Smooth peanut butter | 1 cup / 250g |
| Unsalted butter | 60g / 4 tbsp |
| Brown sugar | 1/4 cup / 55g |
| Icing sugar (powdered sugar) | 1 cup / 120g |
| Chocolate (for melting) | 500g / 16 oz |
Helpful Tools
Having the right tools makes the process smoother. Here’s what you’ll need:
1. Mini Muffin Tin – Essential for shaping the cups.
2. Paper Patties (Mini Cupcake Liners) – Prevents sticking and makes removal easy.
3. Microwave-Safe Bowl – For melting chocolate in short bursts.
Pro-Tips for Perfect Homemade Reese’s Cups
1. Use High-Quality Powdered Sugar – Cheaper brands can be grainy and won’t dissolve properly. A finer icing sugar ensures a smooth filling.
2. Chill Between Layers – Refrigerating the chocolate layers helps them set faster and prevents mixing.
3. Gently Tap the Tin – After adding the top chocolate layer, lightly bang the tin on the counter to even out the surface.
4. Experiment with Chocolate – Dark, milk, or even white chocolate can be used for variety.
5. Try a Peanut Butter Twist – If you love peanut butter desserts, check out this No Bake Peanut Butter Brownie Recipe for another no-bake treat
How to Make Homemade Reese’s Cups
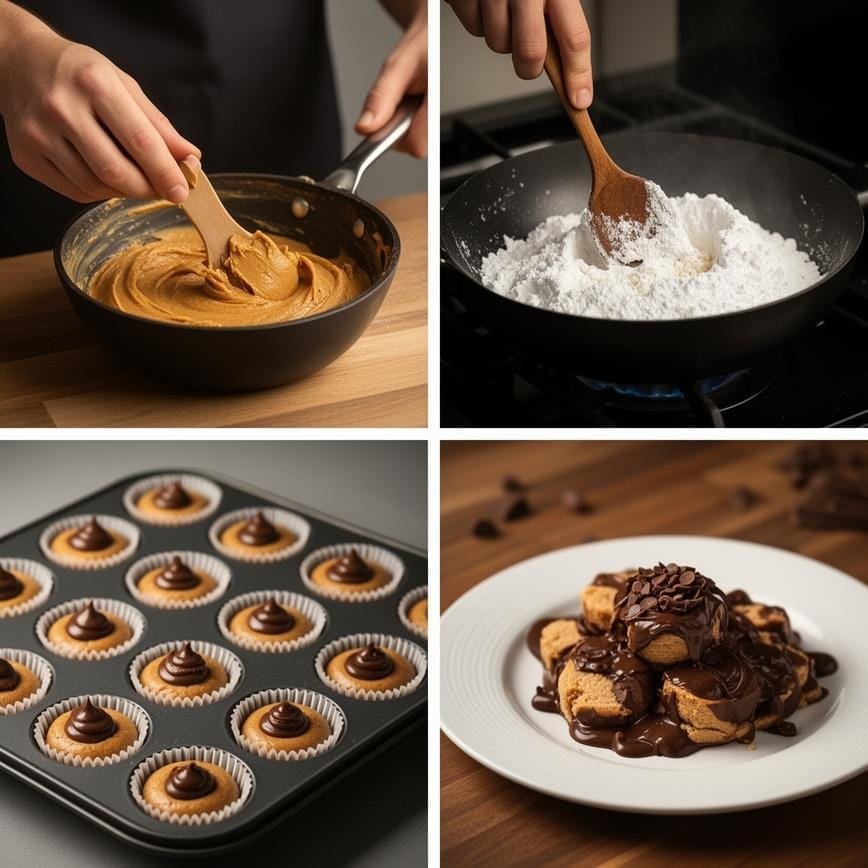
Follow these simple steps for the best homemade Reese’s cups:
- 1. Prep the Muffin Tin – Line 3 x 12-hole mini muffin tins with paper patties.
- 2. Make the Filling – In a saucepan, combine peanut butter, butter, and brown sugar. Heat over medium, stirring until bubbly. Remove from heat and stir in powdered sugar, ¼ cup at a time, until smooth. Cool (or refrigerate) the mixture.
- 3. Melt the Chocolate – Microwave half the chocolate in 30-second bursts, stirring between each, until smooth.
- 4. First Chocolate Layer – Pour 1½–2 tsp of melted chocolate into each muffin cup.
- 5. Add Peanut Butter Filling – Roll slightly heaped tsp of filling into balls, flatten slightly, and place in the center of each cup.
- 6. Chill – Refrigerate for 20 minutes until set.
- 7. Second Chocolate Layer – Melt the remaining chocolate and pour over the peanut butter discs, covering them completely.
- 8. Smooth the Surface – Gently tap the tin on the counter to even out the chocolate.
- 9. Final Chill – Refrigerate for another 20 minutes.
- 10. Serve & Enjoy – Remove the paper patties and indulge!
Variations to Try
1. Almond Butter Cups – Swap peanut butter for almond butter for a nutty twist.
2. Salted Caramel Drizzle – Add a drizzle of caramel and a sprinkle of sea salt before the top chocolate layer.
3. Crunchy Add-Ins – Mix in crushed pretzels or chopped nuts for extra texture.
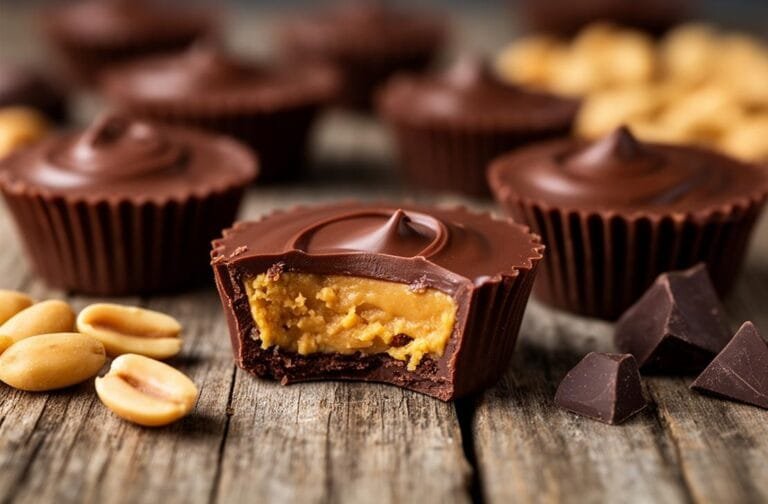
Homemade Reese’s Cups
This Ultimate Neapolitan Cake is a show-stopping masterpiece that brings the nostalgic ice cream flavors to life in fluffy cake form. Featuring three distinct layers—rich chocolate, fresh strawberry, and classic vanilla—all made from a single smart batter base. Topped with a trio of creamy frostings (or a lush vanilla coat), it’s the perfect centerpiece for birthdays and celebrations.
- Total Time: 75
- Yield: 12 servings
Ingredients
— The Cake Base (One Batter) —
1 cup (226g) unsalted butter, room temperature
1 ¾ cups (350g) granulated sugar
4 large eggs, room temperature
2 ½ cups (325g) all-purpose flour
2 ½ tsp baking powder
½ tsp salt
1 cup (240ml) whole milk, room temperature
1 tbsp vanilla extract
— The Flavorings —
Strawberry Layer: ¼ cup strawberry puree (reduced from frozen or fresh strawberries) + 1 drop pink food coloring
Chocolate Layer: 3 tbsp unsweetened cocoa powder + 1 tbsp milk
— The Buttercream Frosting —
1 ½ cups (340g) unsalted butter, softened
5-6 cups (600-720g) powdered sugar
2 tsp vanilla extract
2-3 tbsp heavy cream or milk
Pinch of salt
(Optional: Divide frosting and flavor with cocoa and strawberry puree to match layers)
Instructions
1. **Preheat & Prep:** Preheat oven to 350°F (175°C). Grease and flour three 8-inch round cake pans and line the bottoms with parchment paper.
2. **Make the Base Batter:** In a large bowl or stand mixer, cream the butter and sugar together on medium-high speed for 3-4 minutes until light and fluffy. Add eggs one at a time, beating well after each.
3. **Dry & Wet:** Whisk the flour, baking powder, and salt in a separate bowl. Alternately add the dry ingredients and the milk to the butter mixture, starting and ending with the flour. Stir in the vanilla extract.
4. **Divide & Conquer:** Divide the batter evenly into three medium bowls (use a kitchen scale for precision if available).
5. **Flavor the Layers:** Leave one bowl plain (Vanilla). To the second bowl, stir in the cocoa powder and extra tablespoon of milk (Chocolate). To the third bowl, stir in the reduced strawberry puree and pink food coloring (Strawberry).
6. **Bake:** Pour each batter into its own prepared pan. Bake for 23–28 minutes, or until a toothpick inserted into the center comes out clean.
7. **Cool:** Let cakes cool in pans for 10 minutes, then turn out onto a wire rack to cool completely before frosting.
8. **Make Frosting:** Beat the softened butter until creamy. Gradually add powdered sugar, cream, vanilla, and salt. Whip on high for 3-5 minutes until fluffy.
9. **Assemble:** Place the chocolate layer on your serving plate and spread with frosting. Top with the strawberry layer and more frosting. Finish with the vanilla layer.
10. **Decorate:** Cover the entire cake with the remaining buttercream. For a true Neapolitan look, you can split the frosting batch and flavor it to match the layers, piping rosettes on top!
Notes
Strawberry Puree: To make the reduction, blend 1 cup of strawberries and simmer in a saucepan until thickened and reduced to about 1/4 cup. Let it cool completely before adding to the batter.
Room Temp Ingredients: Ensure butter, eggs, and milk are at room temperature to prevent the batter from curdling.
Precision: Weighing the batter when dividing ensures your layers look perfectly even when sliced.
Storage: Keep the cake covered at room temperature for up to 3 days, or refrigerate for up to 5 days (let it come to room temp before serving).
- Prep Time: 45
- Cook Time: 30
- Category: Dessert
- Method: Bake
- Cuisine: American / Italian Inspired
- Diet: Vegetarian
FAQ
1. Can I use natural peanut butter?
Yes, but ensure it’s well-stirred and not too oily, as this can affect the filling’s texture.
2. How long do homemade Reese’s cups last?
Stored in an airtight container in the fridge, they’ll stay fresh for up to 2 weeks.
3. Can I freeze them?
Absolutely! Freeze for up to 3 months—just thaw in the fridge before serving.
Conclusion
Making homemade Reese’s cups is a fun, rewarding process that yields a treat far superior to store-bought versions. With just a few ingredients and simple steps, you can create a batch of rich, creamy, and utterly addictive peanut butter cups.
For more delicious ideas, follow me on Pinterest.