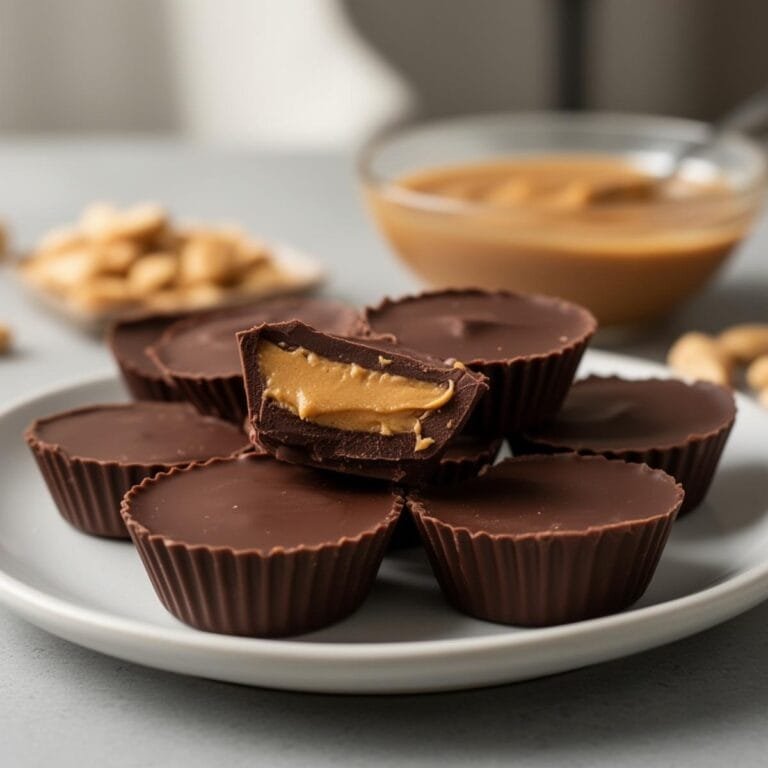
Ingredients
— The Chocolate Shell —
2 cups (340g) semi-sweet or milk chocolate chips (high quality is best)
2 tablespoons coconut oil (or vegetable shortening) to make the chocolate shiny and snappy
— The Peanut Butter Filling —
1 cup (250g) creamy peanut butter (commercial brands like Jif or Skippy work best)
½ cup (1 stick / 113g) unsalted butter, softened
¾ cup (85g) graham cracker crumbs (the secret to the authentic texture!)
1 cup (120g) powdered sugar
¼ teaspoon salt (adjust to taste)
Instructions
1. **Prepare the Pan:** Line a standard 12-cup muffin tin (or a 24-cup mini muffin tin) with paper cupcake liners.
2. **Make the Filling:** In a medium bowl using a hand mixer, beat the peanut butter and softened butter until creamy. Add the graham cracker crumbs, powdered sugar, and salt. Beat until combined and smooth. The mixture should be thick and moldable.
3. **Melt Chocolate:** In a microwave-safe bowl, combine the chocolate chips and coconut oil. Microwave in 30-second intervals, stirring in between, until completely smooth and glossy.
4. **Bottom Layer:** Spoon about 1-2 teaspoons of melted chocolate into the bottom of each muffin liner. Tilt the pan slightly to coat the bottom evenly. Place the tin in the freezer for 10 minutes to set.
5. **Add Filling:** Remove tin from freezer. Scoop about 1 tablespoon of the peanut butter mixture and roll it into a ball, then flatten it into a disc with your palms. Place the disc gently on top of the frozen chocolate layer. Repeat for all cups.
6. **Top Layer:** Spoon the remaining melted chocolate over the peanut butter discs, smoothing it out to the edges to seal the peanut butter inside.
7. **Chill:** Place the tin back in the fridge for 20–30 minutes, or until the chocolate is completely set firm.
8. **Serve:** Remove the paper liners and enjoy! Store leftovers in the refrigerator to keep the chocolate crisp.
Notes
The Secret Texture: The graham cracker crumbs are essential! They give the filling that signature ‘Reese’s’ texture that isn’t just smooth peanut butter.
Chocolate Choice: Semi-sweet chocolate balances the sweet filling best, but milk chocolate mimics the classic candy bar taste.
Storage: These will keep in an airtight container in the refrigerator for up to 2 weeks, or in the freezer for up to 3 months.
Nut-Free Option: You can substitute the peanut butter with sunflower seed butter or cookie butter for a different twist.
- Prep Time: 20
- Category: Dessert / Candy
- Method: No-Bake / Chill
- Cuisine: American
- Diet: Vegetarian